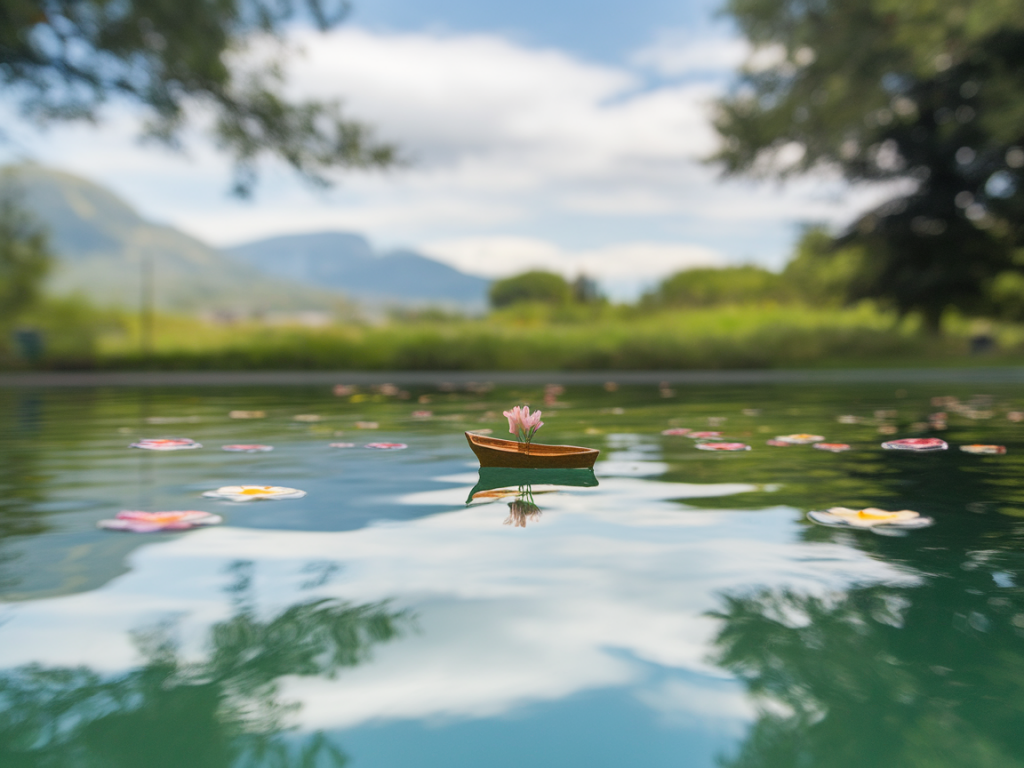
I’m obsessed with tiny, believable worlds — and one small trick I return to again and again is photographing miniature water. When you get the light and reflections right, a scrap of resin or a puddle of gloss medium can read as a pond, a gutter, even an ocean. You don’t need a pro camera or a studio light to make convincing, reflective water: a smartphone and two inexpensive diffusers are enough to control highlights, deepen reflections, and add a little magic. Below I’ll walk you through how I do it, what materials I use, and the simple adjustments that make the difference between a flat photo and something that feels alive.
Why two diffusers?
Using two diffusers gives you control over both the quality and direction of light. One diffuser softens a dominant light source (so highlights aren’t harsh blobs) while the second shapes fill light or creates a separate soft reflection. Together they let you sculpt the reflection plane of the water without blinding glare or unwanted hotspots. Think of them as sculpting tools for light.
What I use (cheap, easy to find)
Here’s a compact gear list — nothing fancy, all inexpensive and often already at home:
- Smartphone with manual/exposure control (any recent iPhone or Android works fine).
- Two diffusers:
- Diffuser A: a small white translucent plastic sheet (a cheap presentation folder, or tracing paper taped to cardboard)
- Diffuser B: lightweight white fabric or thin shower curtain panel (I use a scrap of muslin or a budget translucent shower curtain from a dollar store)
- Small reflector (optional): a folded sheet of aluminium foil or a white card to bounce light.
- Mini tripod or phone clamp: stability matters for focus and exposure.
- Surface for the water: a shallow dish, glossy black card, or a piece of acetate. I often paint a little graduated tone on paper underneath for depth.
- Water substitute: glycerin, gloss medium, clear resin, or even a small puddle of water with a drop of dish soap to change surface tension.
- Simple clamp or books to hold diffusers in place.
Setting up the scene
I start on a small table near a window, but the technique works in any room if you can place a bright lamp behind your first diffuser.
- Place your miniature set or surface on the table. If you want deep reflections, use a dark base (black card or dark-painted board).
- Position Diffuser A between the main light (window or lamp) and the scene. This will be your key diffuser. The idea is to produce a large, soft light source that gives even illumination across the water.
- Position Diffuser B low and close, opposite or at an angle to Diffuser A. This creates a secondary soft reflection — a gentle rim or fill — and helps model the surface. You can angle it so the smartphone sees its soft reflection in the water plane.
- Use books or clamps to adjust heights. The relative distances control how soft or defined the reflections are: closer diffusers make more distinct reflections; farther ones make them softer and larger.
Making the water look real
The surface material and the scale of highlights are crucial. A few small steps I always try:
- Use a high-viscosity medium for still, mirror-like surfaces: glycerin or clear gloss medium sits beautifully and holds detail. For ripples, gently disturb the surface with a pin or a very small brush.
- Add a tiny touch of pigment on the substrate under the water to suggest depth — a faded blue-green or muted brown looks natural.
- For micro-waves or texture, drag a toothpick through the surface while the medium is curing or form tiny bead-like drops for scale-appropriate ripples.
Smartphone camera settings and technique
Modern phones have excellent sensors and useful manual controls. If you can, use an app that lets you lock exposure and focus (the native Camera app on iPhone and many Android phones does this with a long press on the screen).
- Stabilize: use a tripod or steady surface; small movements change reflections and blur detail.
- Focus: tap to focus on the plane of the water or the most important reflection. Lock it so the phone doesn’t hunt.
- Exposure: lower the exposure slightly to preserve highlight detail — reflections can blow out quickly. On many phones you can slide a finger down after focusing to darken the exposure.
- HDR: try both with HDR on and off. HDR can balance the scene but sometimes flattens contrast; judge by the image.
- RAW if available: shooting RAW (or Apple ProRAW) gives you more leeway in post for tone and highlight recovery.
How I use each diffuser in practice
Diffuser A (the key) is always larger and produces the soft, even sky-like light. It’s the main contributor to the long, soft reflection you see in the water. Diffuser B is the playful partner: I move it until I get a slim, separate band of light in the reflection that suggests depth or a rim highlight. If you want a darker, moodier image, position Diffuser B so it blocks some of the key light, creating a shadowed gradient across the water.
Composition tips to sell scale and realism
- Include recognisable scale cues: a tiny leaf, a scrap of plaster, or a painted pebble suggests size.
- Low camera angles help. Bring the phone close to the water plane; a 10–20 degree tilt often reads as larger, more convincing water.
- Use negative space wisely: a large, smooth reflection can suggest a calm, expansive surface even when the set is tiny.
Post-processing shortcuts
I do minimal edits on the phone or in Lightroom mobile:
- Lower highlights to preserve specular detail.
- Increase contrast slightly and add a touch of clarity to bring out texture in the water.
- Use a slight vignette to draw the eye to the reflection plane.
Troubleshooting common problems
- Harsh hotspots: Move Diffuser A farther from the light or add more layers (another sheet of tracing paper) to soften it.
- Flat image: Introduce Diffuser B as a rim light or add a tiny reflector to bounce a bit of light back into shadow areas.
- Too much glare: Lower exposure or add a polarising clip-on filter for the phone. Clip-on polarizers cost under £15 and can help, but they also reduce light, so adjust exposure accordingly.
- Scale looks wrong: Adjust camera height and include a familiar object for scale.
If you want a ready-made starting point, try this quick setup: black card base, a small puddle of glycerin, Diffuser A (tracing paper on a cardboard frame) 40cm behind the scene, Diffuser B (thin muslin) 10cm to the side and slightly above, phone on a mini tripod at water level. Tweak angles until you see two soft bands of reflection in the puddle — that’s the sweet spot.
Photographing miniature reflective water is part patience, part experiment. The two-diffuser technique gives you the flexibility to make water feel solid and reflective or soft and mysterious. Play with distance, materials and camera position — the surprises are the best part.