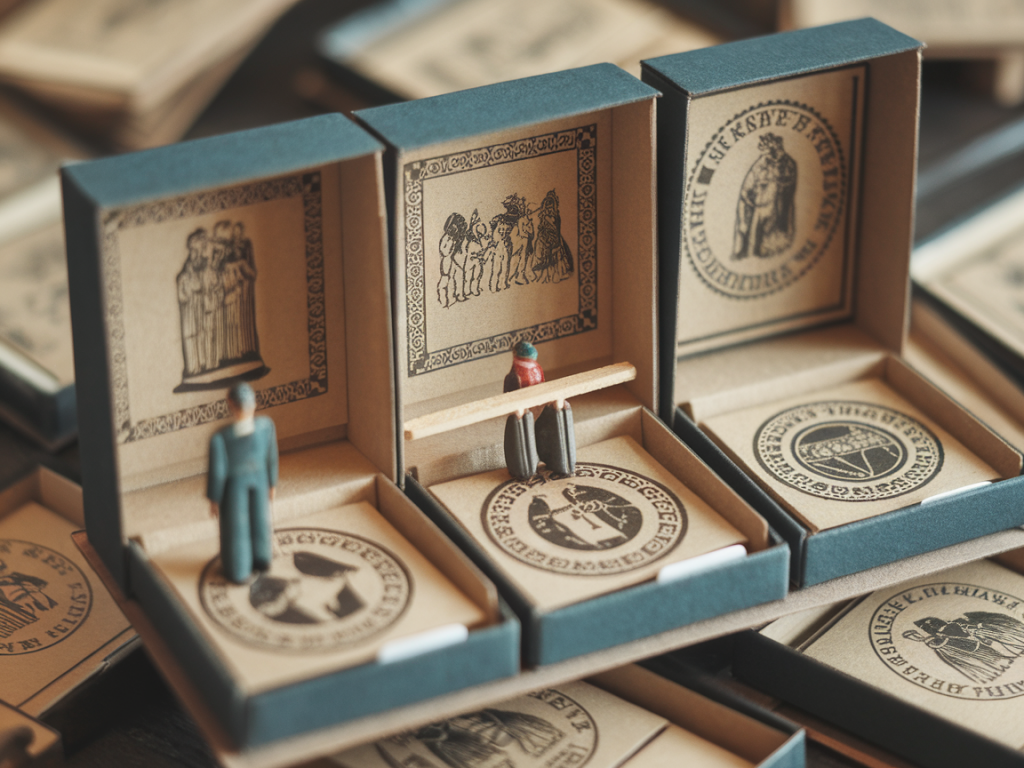
I love giving small, ordinary objects a second life, and matchboxes are one of my favourite starting points. They’re the perfect scale for tiny stagecraft: deep enough to create a little set, wide enough to tell a short story, and charmingly humble. In this project I’ll show you how to transform discarded matchboxes into a three‑scene flipbook theater — complete with secret hinges that hide the mechanics and stamped backgrounds that give each scene texture and depth.
Why a matchbox theater?
People ask me: why use matchboxes instead of a tiny sketchbook or a zine? For me it’s the theatricality. A matchbox has a drawer and a sleeve — two layers that read like a curtain and backstage. When you open the drawer, you expect to see something ordinary; when you find a miniature stage that changes with each pull, the surprise feels magical. It’s also a compact way to combine illustration, paper engineering and a little animation-like sequencing.
Materials and tools
Here’s what I usually gather on my work table. I list brand examples where they’re genuinely helpful, but feel free to improvise.
- 3 empty matchboxes (I like wooden kitchen matches from Swan Vesta or similar)
- 120–160gsm cartridge paper or Bristol board for the flip panels
- Thin card (200–300gsm) for secret hinges and supports
- Double-sided tape and PVA glue (Aleene’s Tacky Glue works well)
- Bone folder or ruler for crisp folds
- Scalpel / craft knife and metal ruler
- Rubber stamps, ink pads (VersaFine or Archival for crisp detail)
- Watercolour, gouache or coloured pencils for painting
- Small brad fasteners or tiny paper clips (optional)
- Waxed thread or thin ribbon for a pull tab
- Graph paper and pencil for planning
Designing your three‑scene sequence
Start by deciding the little story you want to tell. Because the theater will show three frames in sequence, I plan actions with a clear beginning, middle and end: a character appears, something changes, a reveal or punchline closes the scene. Keep movement economical — a small gesture like raising a hat or a light appearing translates well at this scale.
Make quick thumbnails on graph paper. The internal dimensions of a standard matchbox drawer are typically around 52 × 34 × 13 mm, but check your boxes and measure. My flip panels will be slightly smaller than the drawer opening so they can slide freely — aim for a 1–2 mm clearance on each side.
Constructing the flip panels
For each matchbox you’ll make three panels (one per scene). Cut three rectangles from your cartridge paper, sized to fit inside the drawer — for example 48 × 30 mm. Score each rectangle down one long edge and fold to create a tiny hinge tab of about 3 mm. These tabs will be used to attach the panels to the hidden hinge strip later.
Draw and paint each scene on an individual panel. Work left to right as if you were making frames of a flipbook, keeping elements aligned across panels. To help registration, draw faint pencil registration marks at the top corners and erase them later. If you want texture, use rubber stamps or hand‑carved stamps to create backgrounds — a stamped pattern gives a lovely vintage, theatrical feel. I often stamp in a neutral brown or grey first, then layer paint on top.
Making the secret hinge
This is the little trick that makes the mechanism feel magical. Cut a narrow strip of thin card the length of the drawer interior and about 8–10 mm wide. Fold the strip into an accordion of three small tabs — each tab should exactly match the hinge tab you scored on the panels (about 3 mm). The accordion hides across the back of the matchbox drawer so that when you pull the tab, the panels flip in sequence.
Attach the accordion to the inside back wall of the drawer using double-sided tape or PVA glue. Glue or tape each panel’s hinge tab to a corresponding section of the accordion, ensuring they line up so panels sit flat when closed and flip cleanly when pulled. Test the movement before the glue sets: you want a smooth cascading flip where each panel reveals a new scene in order.
Stamping and building depth
Stamping backgrounds before you attach panels gives you more control. I like to stamp onto the cartridge panels with a light ink like Tsukineko Versafine Claire — it’s crisp and works nicely under watercolor. For more depth, stamp smaller motifs onto separate paper, cut them out and adhere with tiny foam pads to create layers. Think of your matchbox theater as a tiny stage: you can build foreground, middle ground and background with different paper layers.
Finishing the matchbox and pull tab
Decorate the sleeve of the matchbox to match your story. I often stamp a title or a tiny vignette on the sleeve so the box reads like a program. For the pull tab, use a small loop of waxed thread or ribbon glued to the frontmost panel. You can also thread it through a tiny hole in the drawer front and knot it underneath for a neat finish.
Troubleshooting common problems
- Panels stick or jam: Check for glue squeeze‑out and clear any dried adhesive. Increase side clearance by 0.5–1 mm if the fit is too tight.
- Flip is uneven: Make sure the accordion hinge sections are equally spaced and attached firmly. Test with light pressure and adjust while glue is tacky.
- Ink smears: Use archival or pigment inks and allow them to dry thoroughly before layering watercolour.
- Top panel won’t lie flat: Reduce bulk at the hinge tab (trim a fraction of the paper) or flatten with a bone folder.
Variations and playful ideas
Once you’ve made one theater, the possibilities bloom. Try:
- Miniature shadow play: cut silhouettes and animate by sliding thin strips.
- Pop‑up elements: add tiny folded pop‑ups that lift as each panel flips.
- Interactive sound: glue a tiny paper rattle or bead inside the drawer for a sound cue when the drawer is pulled.
- Series edition: make a set of matchbox theaters that together tell a longer story — stack them like books on a shelf.
Where I find my materials and a few tips
I collect matchboxes from packaging (some spice jars and artisan soap makers still use them), charity shops and friends. For paper I prefer Hahnemühle or Canson Bristol for its smooth surface; the heavier stock helps panels lie flat and resists warping. My favourite stamp inks are Archival and VersaFine for their crispness and colour range. A small cutting mat and a 10 cm metal ruler make trimming accurate and stress-free.
If you make a theater, I’d love to see it — tell me what story you chose, which stamps you used, and whether your panels reveal a joke or a small wonder. These little stages are a reminder that even the tiniest objects can hold theatrical worlds.