I love the little illusion of glass in scaled-down worlds: a tiny bottle that looks like it could hold a drop of moonlight, a window in a paper house that catches the sun, or a miniature globe with a glossy, convincing surface. Over the years I’ve experimented with a lot of ways to fake glass in tiny sculptures, and the short answer to the question “Can you fake glass in tiny sculptures with thin resin sheet and acrylic gloss?” is yes — but with a few important caveats about materials, technique and expectations.
Why thin resin sheet + acrylic gloss?
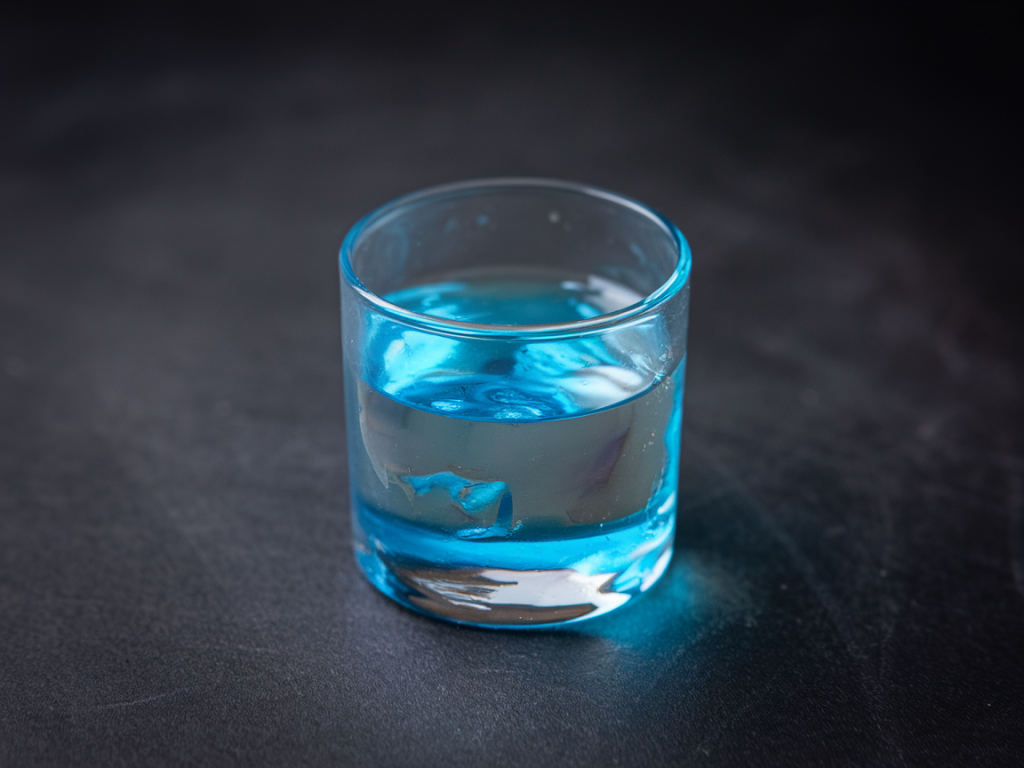
Thin resin sheets (or clear plastic sheets such as PETG, acrylic/Plexiglas, or cast resin film) give you a sheet form that’s easy to cut, shape and layer. They have more body than a brushed varnish and can be used to form faces, windows, tiny panes, bottle bodies and faceted gems. Acrylic gloss varnish adds that top-layer shine and deepens colour and contrast beneath, giving surfaces a wet, glass-like finish without using real glass.
Combine the two and you get the structural possibilities of a sheet (crisp edges, thickness options) with the surface brilliance of gloss varnish. The result can be very convincing at small scale, especially when you pay attention to edge finishing, tiny bubbles and how the piece catches light.
Materials I reach for
Thin clear sheet: 0.2–1.0 mm PETG or acetate for very small, flexible parts; 1–2 mm acrylic (Plexiglas) for rigid little panes or bottles. You can also find “cast resin sheet” from model suppliers — these have a slightly different optical quality but work well.UV resin (optional): great for doming, filling seams and creating tiny droplets. I use brands like Solarez or Anycubic UV Resin for quick cures.Two-part clear casting resin (for small solid bits): Alumilite Amazing Clear Cast or ArtResin — useful if you want solid mini-glass components.Acrylic gloss varnish: spray (Krylon Crystal Clear) or brush-on (Golden High Gloss Varnish, Liquitex Gloss Varnish). I prefer brush-on for small controlled areas because spray can fog or over-spray tiny details.Adhesives: solvent cement for acrylic (Weld-On 4) if gluing acrylic-to-acrylic. For PETG/other plastics, a thin cyanoacrylate (superglue) with an accelerator works fine.Sanding and polishing supplies: micro-mesh sanding pads, wet/dry paper (400–2000 grit), Novus polish or a plastic polishing compound, and soft cloths.Tools: fine scissors, sharp hobby knife, small clamps, tweezers, a silicone mat, and a small silicone mold if you’re casting tiny solid components.How I approach a small glass-like object (step-by-step)
Plan the scale and optical needs. Is it a flat window (you want perfect transparency) or a small bottle (you want thickness and internal reflections)? If transparency is essential, choose acrylic or PETG sheets; if you want the object to be solid and refractive, cast a small piece in clear resin.Cut and shape the sheet. For straight edges use a ruler and a fresh blade; for curves, cut slowly with fine scissors and sand the edges. If you’re using acrylic, score and snap thicker sheets; thinner PETG can be cut with scissors or a heated wire for smooth curves.Smooth and polish edges. This is where a lot of the convincing glass look happens. Sand from 400 up through 2000 grit, keep it wet, then finish with micro-mesh or a plastic polish. For acrylic, gentle flame-polishing (careful!) or a solvent polish with a product like Novus 2/3 can restore clarity on edges — but practise on scrap first.Assemble with the right adhesive. Acrylic can be solvent-welded for invisible seams; for PETG or mixed-material joins, use a clear CA + accelerator and apply sparingly — capillary action will pull the glue and can leave white bloom if you use too much.Fill or dome details. For tiny droplets, doming with UV resin is fast and neat: a tiny drop cures in seconds under a UV lamp, giving a high-refractive, glassy bead. Use a toothpick or pin to position and level the resin before curing.Apply acrylic gloss. Use a brush-on gloss varnish for small pieces. Several thin coats build depth without orange-peeling. Brush parallel strokes and let each coat fully cure. If you prefer spray, use multiple light passes and shield surrounding areas.Add final polish and tiny scratches. Real glass has micro-imperfections. Use a rubbing compound or very fine steel wool to add believable wear if needed; then reapply a thin gloss coat to seal it.Common problems and how to avoid them
Cloudy finish: Caused by moisture, trapped air or incompatibility between products. Work in dry conditions, mix epoxies slowly to avoid bubbles, and use a heat gun or toothpick to pop bubbles in UV resin before curing.White bloom around glue lines: Usually superglue wicking or plasticizers reacting. Use less adhesive, choose an adhesive recommended for the pair of plastics you’re joining, or mask and paint tiny seams instead of gluing visibly.Orange peel texture after varnish: Too close or heavy spray coats. Thinner, multiple coats and keeping an appropriate distance will avoid this. Brush-on varnish is more forgiving at small scale.Edges look fake: Sharp, perfectly flat edges on a tiny object look like plastic. A slight chamfer and careful polishing give a tiny catch to the light that reads as glass.Quick comparisons
| Material | Best for | Pros | Cons |
|---|
| PETG/Acetate sheet | Thin windows, flexible panes | Cheap, easy to cut | Scratches easily, less refractive |
| Acrylic (Plexiglas) | Rigid tiny panes, faceted shapes | Good clarity, polishes well | Needs solvent for invisible joins |
| Cast epoxy resin | Solid gems, bottles, domes | Excellent optics, can be cast in molds | Mixing and curing require care |
| UV resin (doming) | Beads, droplets, quick fills | Fast, precise | Can yellow over time if low-quality |
One last practical tip: scale matters. At very small scale your eye will forgive a lot more than you think, but tiny reflections and proper edge treatment sell the illusion. I often combine materials — a thin PETG pane framed with painted card, topped with a UV-resin droplet and a micro-coat of Liquitex gloss — and the result reads as glass even if no single part is perfect.
If you’d like, I can share a short tutorial for a specific piece (tiny bottle, window or gem) with exact measurements and a shopping list so you can try this on your next mini project. Tell me which tiny object you have in mind and I’ll sketch a step-by-step plan.