I stage tiny scenes — paper dioramas, miniature puppets, and small-scale sculptures — so the quality of light matters more than you might expect. Even a cheap keychain LED can be transformed into a soft, even wash that makes paint read beautifully and hides harsh hotspots. In this post I’ll share which inexpensive keychain lights tend to give the most even color for miniature staging, why they behave the way they do, and practical, low-cost ways to modify them for better, more usable light.
Why cheap keychain LEDs are useful for miniature work
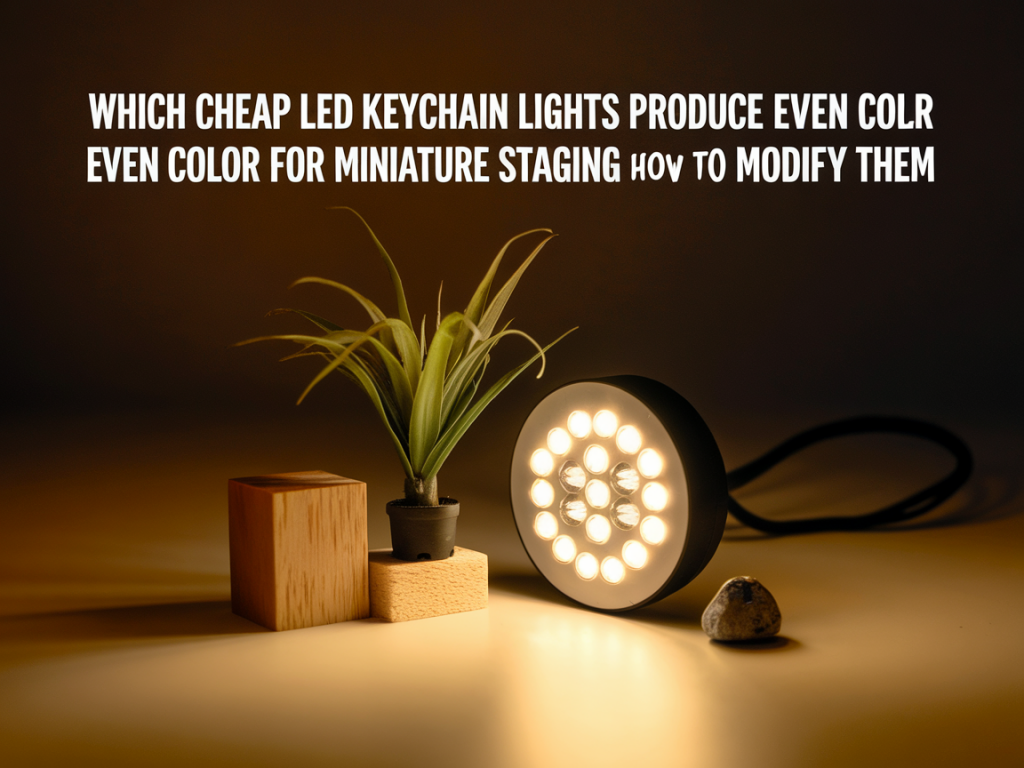
Keychain LEDs are small, portable, and often powered by coin cells or tiny AAA batteries — which makes them ideal for shooting or viewing miniatures in situ. They’re also cheap enough to experiment on without worrying about ruining an expensive unit. What they lack out of the box is evenness of light: many produce a bright hotspot and cooler spill, odd color casts, or narrow beams. But with a few simple mods (and an understanding of what to look for) you can get surprisingly pleasing results.
Which types of cheap keychain lights tend to give the best base for modification
Not all cheap LEDs are created equal. Look for these characteristics when shopping — whether it’s a generic keychain torch from a pound shop or a low-cost model from Amazon:
Uses a white SMD LED or multiple small LEDs rather than a single raw 5mm pure-die emitter — multi-emitter arrays often produce less harsh hotspots.Has a small clear plastic lens rather than a deep reflective cup — lenses that spread the beam are easier to diffuse.Uses replaceable batteries (CR2032 or AAA) — easier to maintain and safer to rewire.Brands: you’ll find consistent results from inexpensive models by Lumintop, J5Create, or cheap “EDC” keychain lights; I also often buy anonymous £1 LED keyrings from market stalls — they make great testbeds.
Understanding color and evenness
Two optical factors matter:
Color temperature and tint — cheap white LEDs sometimes have a bluish cast, or an uneven tint across the beam. This is a function of the phosphor coating and the LED bin. You can correct this with gels or white balancing in-camera, but for true in-person staging you’ll want to warm the light physically.Beam profile — many small LEDs concentrate light into a hot circle. A diffuser spreads and blends that hotspot into an even wash.The easiest improvements target the beam profile first: soften the hotspot, then correct color.
Simple diffuser methods (cheap and reversible)
These are my go-to quick fixes when I want to try a new light immediately:
Thin frosted plastic sheet (from food packaging or a translucent folder) — cut a small disk and tape it over the lens. Works brilliantly and is removable.Polypropylene (PP) from a yogurt pot — thin enough to diffuse while transmitting a lot of light. Use double layers for stronger diffusion.White silicone hot-glue blob — dab a small rounded blob over the lens and let it cure. The glue self-levels into a frosted bead that softens hotspots. It’s semi-permanent but removable with careful scraping.Frosted Scotch tape — wrap one or two layers over the lens for a softer, slightly vignetted beam.Opaque straw diffuser — split a white plastic drinking straw lengthwise and cap the head to form a short tube; this creates a directional soft light ideal for rim or side lighting.Permanent modifications for better color and control
When I want a more refined tool, these mods elevate a cheap keychain into a miniature photography light:
Replace the LED or add secondary LEDs — if the housing is simple, you can remove the PCB and solder in a small SMD LED with a wider viewing angle (e.g., a 120° SMD). This reduces hotspots. If you’re comfortable with tiny soldering, adding two offset LEDs and diffusing them together gives very even light.Sand a 5mm LED lens — many 5mm LEDs have a smooth clear lens. Sanding it with fine-grit sandpaper (400–800 grit) creates a frosted surface and wider beam. Do this slowly and test frequently.Add a small resistor or PWM dimmer — cheap LEDs are often too bright for close-up miniature work. Adding a resistor in series reduces intensity; an inexpensive PWM board (look for “mini LED dimmer” modules) gives smooth control.Tinting for warmth — apply a thin layer of artists’ oil paint (a tiny bit of burnt umber mixed with linseed) on the diffuser, or use a layer of orange-gel (Rosco CTO gel or even a piece of amber plastic). This warms cool LEDs without changing the bulb.Mounting, positioning and spread
How you place a modified keychain matters as much as the mod itself:
For even front light, place the diffuser 2–5 cm from the subject and set the LED at a steep angle so the near-field spread covers the miniature. Closer gives softer falloff but smaller coverage; balance distance and diffuser size.For soft side/rim light, use a short straw diffuser or a narrow frosted tube and place it just out of frame to emphasize shape.Use cards or reflectors (white paper, aluminium foil) to bounce and further even the light; bouncing can remove the remaining hotspot entirely.Troubleshooting common problems
Here are issues I encounter often and how I fix them:
Still a hotspot after diffusion: Increase the diffuser thickness, add a second layer, or move the diffuser away from the LED slightly so the LED’s point source is more fully blended by the material.Too warm or too cool: Use a gel or paint tint on the diffuser — I prefer Rosco gels for consistent color; for tiny improvised fixes, transparent plastic from packaging often has a usable tint.Short runtime: Swap coin cells for higher-capacity CR2032s if fit, or convert to AAA with a tiny holder for longer shoots.Quick comparison table
| Option | Pros | Cons |
|---|
| Frosted tape | Fast, reversible, cheap | Can vignette; less durable |
| Hot-glue bead | Soft, smooth diffusing, semi-permanent | Permanent unless scraped; messy |
| Sanded 5mm LED | Improves beam at source; durable | Requires careful sanding and tools |
| Added SMD LED | Most even light, professional result | Requires soldering skill |
Miniature staging is all about subtlety. A warmed, softly diffused keychain LED can be the difference between “cute” and “believable.” I enjoy the small ritual of opening a keyring torch, fiddling with a blob of glue, or sanding a lens — it feels like tinkering in a sketchbook. If you try any of these mods, tell me what model you started with and what diffuser worked best — I love hearing practical findings from other makers.