I love photographing small worlds. A tabletop diorama is a stage where light, scale and story meet, and with a smartphone you can make images that feel cinematic and tactile — rich depth, soft creamy bokeh and a sense of place that pulls the viewer in. Over the years I’ve learned to coax smartphones into producing images that read like miniature cinema: deliberate focus, layered foregrounds, and gentle blur that suggests atmosphere rather than distraction. Here’s how I do it, step by step, with practical tips you can apply right now.
Why a smartphone can be great for diorama photography
Smartphones have come a long way: computational photography, multiple lenses, and powerful editing apps mean you can get stunning results without a bulky camera. The small sensor and close-focus capabilities are actually strengths for tabletop work — they help isolate the subject and create a shallow plane of focus. Plus, you almost always have your phone with you, which makes spontaneous documentation of studio experiments easy.
Set the scene: scale, layers and storytelling
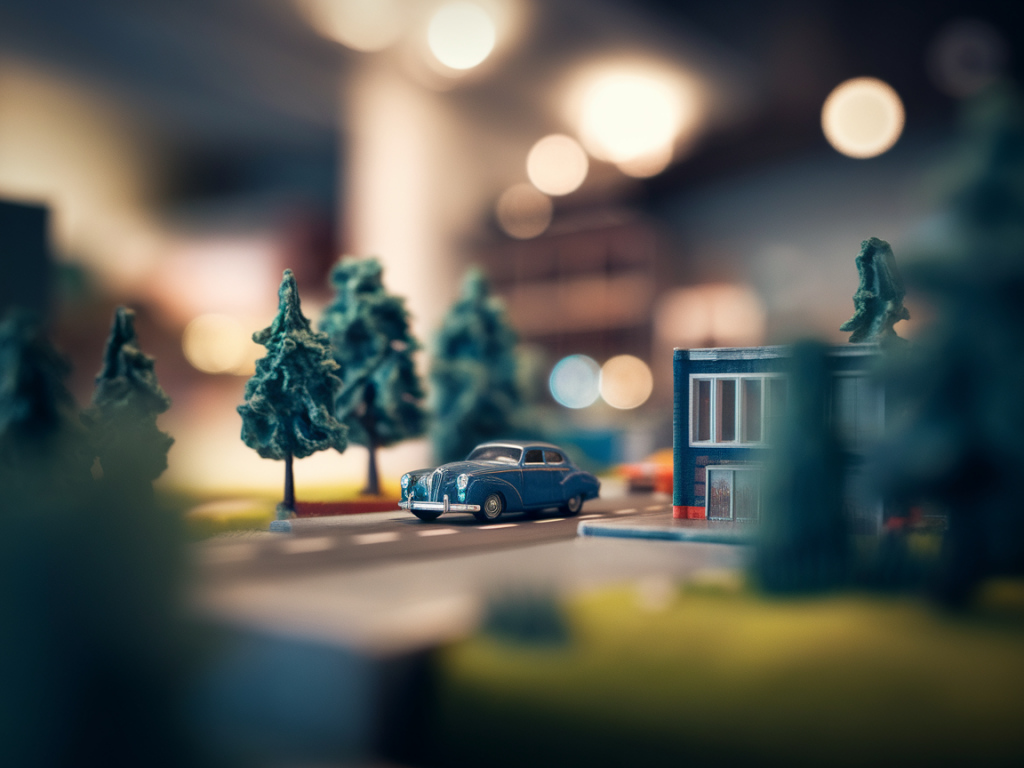
Before you touch the camera, think like a director. A diorama is more than the objects it contains: it’s the relationship between foreground, middle ground and background. I arrange at least three depth layers:
These distances are key. Even a few centimetres between layers will produce visible depth at close range. I often use scraps of foamboard or books to build subtle elevation so elements don’t sit all on the same plane.
Light like a cinematographer
Lighting determines mood. For creamy bokeh and sculpted shapes, I favour directional soft light — think a window with a thin curtain or a softbox. My go-to setup:
Low light helps deepen bokeh because phones may use wider apertures and slower shutter speeds in dimmer conditions. Be careful, though: too dark and noise increases. Use a tripod or steady surface if you’re under 1/60s shutter equivalent.
Camera settings and techniques that actually matter
Smartphones hide many settings, but you can still control the look:
Using external lenses and hacks
If you want even more cinematic character, consider attachable lenses. I’ve used Moment lenses (tele and macro) and cheaper clip-on macro lenses. A tele attachment helps compress the scene and increase background blur; a macro lens lets you get intimate detail while keeping surrounding bokeh soft.
DIY tricks that work well:
Composition and focus tricks
Compositional choices make your miniature world feel big. I use these tricks regularly:
Stability and small supports
Even the steadiest hand benefits from support. I use:
Post-processing: gentle edits for filmic mood
Edit with intent. I prefer apps like Snapseed, Lightroom Mobile and VSCO. My usual workflow:
Portrait mode or depth maps can be adjusted post-capture in some phones (iPhone’s Photos app lets you change depth effect). Use that to fine-tune the strength of the background blur.
Common problems and quick fixes
| Problem | Fix |
|---|---|
| Background blur looks artificial | Increase physical distance between subject and background; use a longer focal length or an external tele lens. |
| Focus hunting or misfocus | Lock focus, increase light, or use manual focus/Pro mode if available. |
| Noise in shadows | Raise exposure slightly when shooting, use lowest ISO possible, and apply mild noise reduction in editing. |
| Reflections or glare on miniature surfaces | Change the angle of the light, use polarising film or a softbox, or position a black flag to block reflections. |
Final creative nudges
Don’t be afraid to experiment. Some of my favourite images came from happy accidents: a fingerprint left on a bottle that caught the light just so, or a torn paper edge that became a distant cliff. Try shooting from low angles, through textured glass, or with a small prism held in front of the lens to split highlights into shimmering fragments. Share your attempts — feedback from other makers often suggests the tiniest tweak that turns an OK image into one that feels magical.
Above all, keep the story in mind. A cinematic photograph isn’t just about pretty blur; it’s about hinting at a moment, a mood, or a miniature narrative. With a little planning, thoughtful light and a generous dose of play, your smartphone can capture tabletop dioramas that feel rich, intimate and wonderfully cinematic.