I love tiny scenes that feel larger than life — a single glowing window on a miniature house can turn a shelf into a story. Over the years I've learned that the secret to making a tabletop lightbox feel cinematic isn't an expensive studio kit, but a few well-chosen LEDs and thoughtful diffusion. In this post I’ll share inexpensive lights and diffuser options I use (and recommend), explain how I position them for mood and depth, and give practical tips so your miniatures look like they belong on film, not just on a desktop.
Why LEDs — and what to look for
LEDs are perfect for small-scale photography: they’re compact, cool to the touch, dimmable, and energy-efficient. But not all LEDs are created equal for color and rendering. When I shop on a budget I focus on three specs:
CRI (Color Rendering Index): aim for CRI > 90 when possible. It makes colors look natural and keeps painted miniatures faithful to the real tones.Color temperature: 2700K–6500K is the typical range. A flexible setup with both warm (around 3200K) and cool (around 5600K) options lets you choose cinematic warmth or daylight crispness.Dimmability: being able to reduce brightness is as important as brightness itself — dramatic low-light scenes need subtle control.Brands I often recommend for affordability and reliability: Aputure Amaran (budget-friendly lights and strong CRI on some models), Neewer (very affordable panels and ring lights), and small LED strip makers like BTF-LIGHTING or generic 5050/2835 SMD strips sold on Amazon or eBay. For single bulbs, Yongnuo and Godox make inexpensive LED panels and bulbs with decent CRI for hobby use.
Three inexpensive light types I use and why
Depending on the scene I choose one or combine several:
LED strips (flexible): cheap, easy to hide, and great for creating rim lights or internal glows inside mini props. I prefer 3000K–5600K strips with high-CRI chips. Voltages are usually 12V; use a basic dimmable driver if you need smooth control.Small flat LED panels (on-camera style): Neewer 480/660 LED panels are around budget price and offer a flat, even light. Many come with bi-color options and dimmers. I use these as key lights outside the box or as soft top lights when combined with diffusion.LED puck lights / COB bulbs: cheap COB LED bulbs (often labeled 10W–20W) are bright and compact. When placed behind diffusion they make strong, focused highlights (e.g., a spotlight through a miniature window). Choose high-CRI versions and add a dimmer plug or PWM dimmer if needed.Diffusers that make a cinematic soft glow
Cinematic look comes from soft, gradual falloff — that’s diffusion. Here are inexpensive diffusion materials I use, ranked by effectiveness for mini work:
Translucent acrylic (frosted): thin sheets of frosted acrylic are perfect for a tabletop lightbox roof or side panel. They give an even, film-like soft light and are easy to cut to size.Textile diffusers (silk or cotton): a piece of silk or white cotton fabric stretched over a frame makes a lovely softbox for small panels. Affordable and easy to store.Tracing paper / baking parchment: when you need a quick fix, regular tracing paper taped over an LED panel works surprisingly well — just watch heat (LEDs are cool, but avoid direct contact with warm bulbs).Milky shower curtain or plastic diffuser sheets: cheap, lightweight, and large — great if you want to construct an enclosed lightbox. Cut to size and clamp.Silicone diffusion pads: thin, flexible silicone sheets sold for lamp diffusion are inexpensive and heat-resistant — great for mounting in tight spaces.How I build a cinematic tabletop lightbox with budget gear
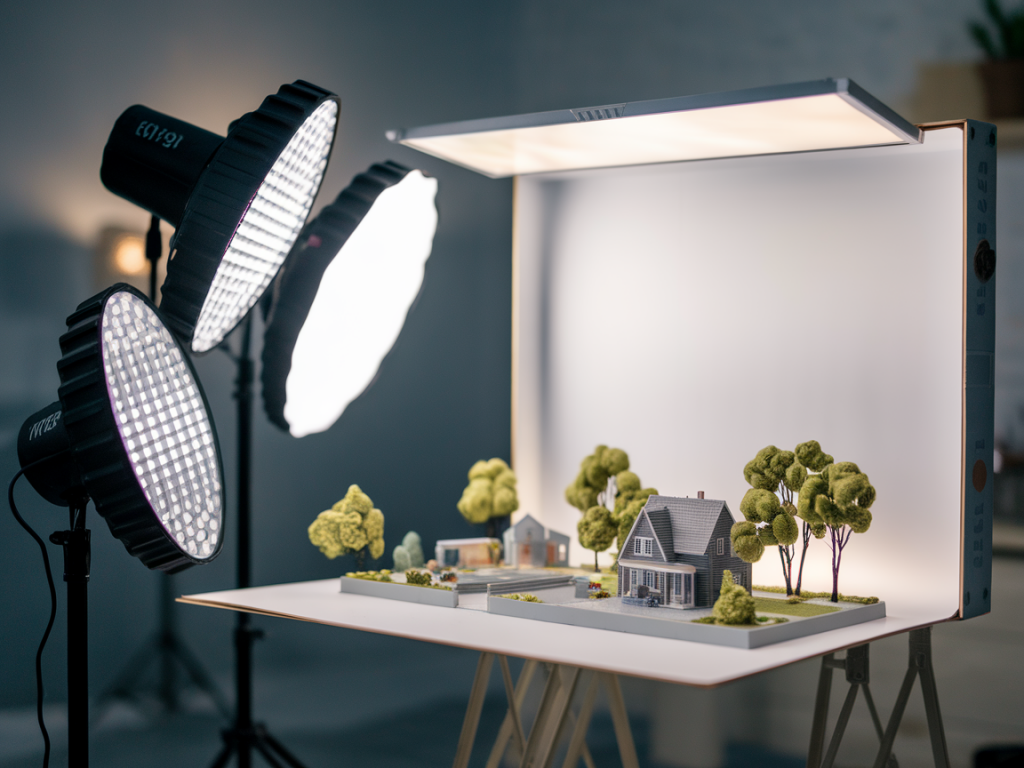
Here’s the general setup I use for moody, cinematic shots of miniatures. You don’t need everything; start with a strip and one panel and add as you go.
Box construction: I use a lightweight white foamcore box (inside painted matte white or left raw depending on reflectivity) with a removable frosted acrylic top as the main diffuser. That top acts like a soft overhead key.Top/Key light: a small LED panel (Neewer 480) placed above the frosted acrylic, dimmed to taste. The acrylic spreads the panel’s light and creates soft shadows.Fill and bounce: white foamcore reflectors clipped to the sides reduce contrast and lift shadow detail. Black cards can be used to deepen shadows for drama.Rim and practicals: LED strips hidden behind miniature set pieces or along the back edge create rim light and separation. For a warm window glow I tuck a warm 2835 strip inside the house, covered with a small piece of tracing paper or frosted acrylic for diffusion.Spot highlights: tiny COB bulbs or a focused LED pebble behind a translucent element adds a cinematic specular highlight — think a lamp inside a miniature room, or a streetlight glow outside a scene.Practical tips for color and mood
Mix warm and cool: I often use a cool overhead key (around 5600K) and a warm practical (2700–3200K) inside the scene. That temperature contrast reads as cinematic and cinematic because it mimics real-world mixed lighting.Use gels sparingly: cheap colored gels (Rosco-style) can tint a strip or panel for mood without buying a new light. Layer them to fine-tune color.Control reflections: miniature models often have glossy paint. A polarizing filter on your camera or lowering the angle of the key light reduces unwanted hotspots.Diffusion distance matters: putting the diffuser closer to the LED makes the source feel larger and softer. If the diffuser is far, you get harder shadows. For miniatures I like the diffuser close but not touching the light.Compact gear checklist (budget-friendly)
| Item | Why I use it | Approx. price |
|---|
| Neewer 480/660 LED panel | Bi-color, dimmable, good value as a top/key light | £25–£60 |
| 5050/2835 LED strip (5m) high-CRI | Perfect for rim lights and internal glows | £8–£20 |
| Frosted acrylic sheet | Even diffusion for top of lightbox | £5–£20 |
| White foamcore + clamp set | Reflectors and enclosure material | £5–£15 |
| Cheap COB LED puck or 10W bulb (CRI>90) | Small focused highlights or practicals | £6–£15 |
Lighting miniatures is as much about restraint as it is about gear. A single warm glow, a soft top light and a hidden strip can already give you a cinematic frame. I like to experiment: move a strip a centimeter, swap tracing paper for acrylic, dim by 10% — these tiny changes are where the magic happens. If you want, tell me what miniatures you’re photographing and I’ll sketch a lighting plan you can try with things you have at home.