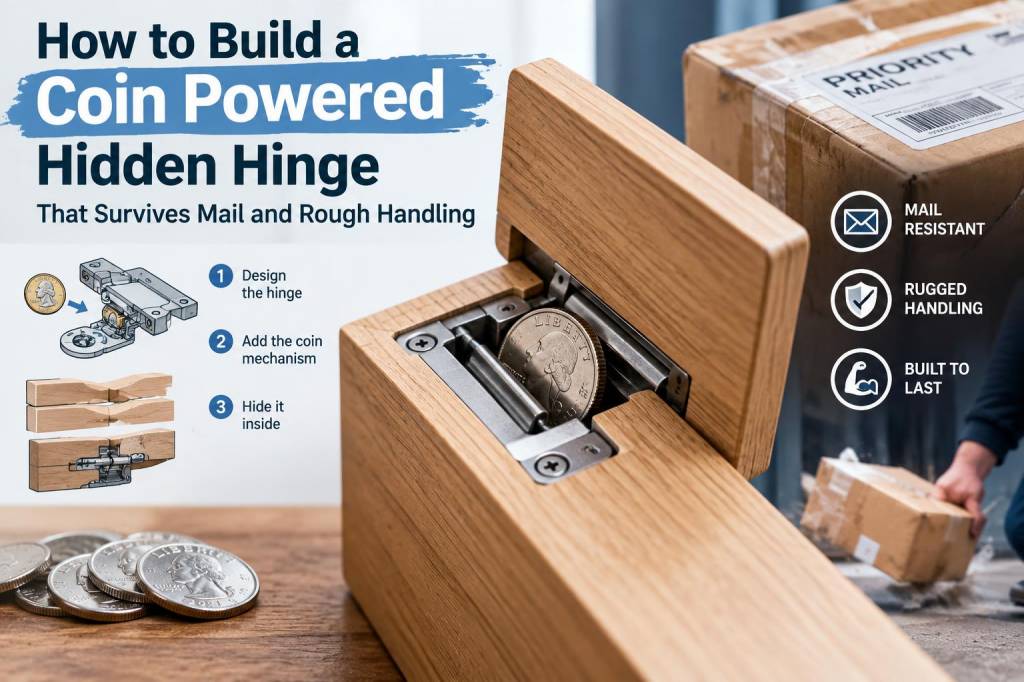
I’ve always loved the small mechanics that make something feel like a little trick — a flap that pops open, a secret that reveals itself with a flip. Over the years I’ve built paper automata, tiny box illusions and simple mechanical toys that need to survive being handled, posted and passed between curious hands. One problem that kept coming up was the hinge: how to make a hidden, reliable hinge that can be powered by something tiny (like a coin) and still survive the jostle of the mail, being dropped in pockets, or the enthusiastic tug of a friend.
In this post I’m going to walk you through a robust DIY method to build a coin-powered hidden hinge. It’s made from humble materials — card, thin metal or acetate, a coin or token, a short elastic band and a few fixings — but assembled so it can take a beating and still perform reliably. I use this system in small mailed surprises and pocket-sized mechanical postcards; it’s ideal for playful mail art, small pop-up cards and tiny boxes with a secret reveal.
Why a coin-powered hinge?
A coin acts as a compact power source that stores rotational inertia and can be used as a simple cam or latch. It’s predictable, heavy enough to move lightweight flaps and small enough to hide in a thin envelope. Compared to springs or complex mechanisms, coins are cheap, durable and easy to replace if you’re assembling many pieces.
Materials and tools
Here’s what I use most often. Substitute similar items as you prefer; I’ll note alternatives in the table below.
Coin or token (UK 5p/10p work well; US dimes/quarters depending on size)Thin brass shim or guitar pick/acetate (for the cam and pivot)Strong double-sided tape (e.g. 3M VHB for small areas) or PVA glue for paper partsElastic band (small, flat bands like those for loom bracelets)Micro screws, brass brads or split-pins for pivotsCard stock (300–350 gsm) or thin plywood for durabilityMasking tape, craft knife, metal ruler, cutting matSuperglue or contact cement (for metal-to-metal or metal-to-coin adhesion)| Part | Recommended | Alternatives |
|---|
| Coin | UK 10p or 5p, US dime/quarter | Metal washers, brass discs, tokens |
| Cam material | Thin brass shim, acetate | Stiff plastic, guitar pick |
| Pivot | Micro screw, brass brad | Split-pin, rivet |
| Power | Small elastic band (flat) | Thin rubber tubing, hair elastic |
Design overview — how it works
The hinge is essentially a cam-and-lever system hidden inside a thin envelope or under a decorative layer. The coin is fixed eccentrically to a shim that rotates on a pivot. When you wind the coin (by wrapping the elastic band around it) and then release, the stored torsion converts to rotational movement. A small lever attached to the same pivot pushes a flap open or releases a catch. The mechanism is compact and keeps the coin flush against the structure so it won’t rattle loose in the post.
Step-by-step build
Take your time with the first prototype — I usually make three small iterations before finalizing the dimensions for a particular card or box.
Prepare the base: Cut two layers of card stock to the size you need (one will hold the mechanism, the other becomes the visible flap). If you want extra durability, use 2 mm thin plywood for the mechanism layer.Make the cam shim: Cut a small strip of brass or stiff plastic about the width of your coin and roughly 2–3 times the coin diameter long. Mark a pivot hole off-center — the coin will be glued to the larger side so the eccentricity creates rotational torque.Attach the coin: Use a dab of superglue (cyanoacrylate) or two-part epoxy to fix the coin to the shim. Make sure the coin edge is clear of burrs and sits flush. Allow glue to cure fully.Create the pivot: Pierce the pivot hole in your base layer. Mount the shim with a micro screw, brass brad or split-pin so it can rotate freely but without wobble. If using a screw, a dab of thread locker (Loctite Blue) prevents it loosening during mailing.Add the lever: On the shim’s large side, solder or glue (if plastic) a small lever arm that extends beneath the flap. This will push the flap when the coin rotates. The lever should be thin and low-profile to stay hidden.Install the elastic: Loop a small flat elastic around the coin and anchor the other end to a fixed point on the base. I sew an anchor with heavy thread through a punched hole and knot it on the underside. If sewing isn’t practical, a glued metal eyelet works well.Build the flap and catch: Design the flap with a small catch that the lever will nudge free. Test by winding the coin a couple of turns until the elastic stores tension; release to ensure the flap moves smoothly.Encapsulation for mailing: To survive the post, sandwich the mechanism between two layers of card and glue the edges. Add a small foam gasket or thin felt around the coin and lever to dampen shock and prevent rattling. I often use a thin layer of Unibond adhesive foam tape.Finish and disguise: Cover the visible faces with decorative paper, printing or collage. Keep a small access hole or seam if you need to re-tension the elastic later.Troubleshooting and durability tips
If the mechanism sticks: check for burrs on the pivot and shim. File smooth and add a drop of dry lubricant (graphite powder) — avoid oils that attract dust.If the flap moves too forcefully and tears: add a small foam bumper at the contact point to reduce shock. You can also reduce the eccentricity of the coin attachment.If the coin loosens: use a thin smear of epoxy or a tiny rivet through the shim into the coin — I’ve used a 1 mm brass rivet successfully on thicker coins.If your mail package gets bent: reinforcing the envelope with a stiff cardboard liner helps. For small mailed items, use a padded envelope and mark “Do not bend” — not foolproof, but it helps.Variations and creative ideas
Double-action: use two coins on either side of the pivot to create opposing actions — a neat trick for small reveal books where one motion closes and another opens.Detachable token: make the coin removable so the recipient can wind and re-use the mechanism. Add a tiny slot that accepts a coin edge.Decorative capping: disguise the coin as a button or eye on your artwork so the mechanism feels like part of the design.Testing and iteration
I always build a test rig to try thirty cycles of the mechanism before sending anything out. This lets me discover weak spots — glue fatigue, elastic stretch, or pivot loosening. Replace the elastic after a few dozen uses; they’re cheap and keep the action snappy. For mail projects, I drop-test and mail-test a batch to myself before committing to a final run.
One practical tip: document the exact coin and shim offset you used, and number your prototypes. When you reproduce the design, small dimension changes matter. I keep an A5 sketchbook with diagrams, measurements and notes about different elastics and adhesives — it saves me from re-discovering the same problem twice.
If you try this, I’d love to see what you make. Send photos or a brief description — I’m always excited to see the tiny ways people put mechanics into mail and small-scale art. Happy making — and may your hinges stay secret and stubbornly resilient.