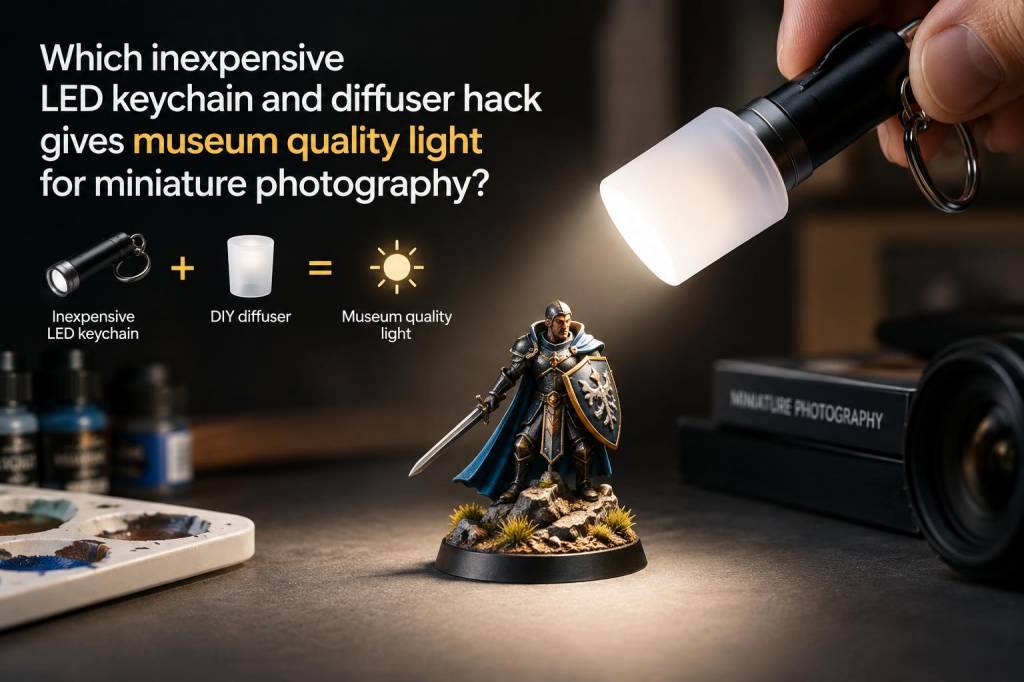
I’ve been photographing tiny scenes for years — little paper theaters, hand-painted figurines, and found-object dioramas — and one lesson keeps coming back: good light makes everything feel intentional. You can craft an entire mood with a strip of LED and a bit of diffusion. Recently I perfected an inexpensive LED keychain + diffuser hack that gives soft, museum-like illumination for miniature photography. It’s cheap, portable, and surprisingly controllable. Below I share what I use, how I build it, lighting setups that work for different subjects, material alternatives, and a few troubleshooting tips from my own experiments.
Why a keychain LED?
Keychain LEDs are great for miniature work because they’re tiny, bright, affordable (often £1–£10), and run on replaceable batteries. Their small size means I can position light in tight spaces — under a tiny table, behind a paper curtain, or angled into a miniature window. The downside is the harsh, focused beam; the upside is that this beam becomes incredibly useful once softened with the right diffuser.
What I use (materials and tools)
Here’s my go-to kit. Most items are from pound shops, online marketplaces, or basic craft stores.
How the hack works — the simple idea
Instead of relying on the LED’s tiny emitter, I transform the light into a little softbox. A diffuser spreads and softens the beam; a short distance between LED and diffuser gives even light; and a simple reflector behind the LED redirects wasted light forward. The result is a miniature light source with a soft fall-off — very similar to small museum lights that wrap objects in gentle, even illumination.
Step-by-step build (my fastest version)
Diffuser options and pros/cons
I’ve tried dozens of diffusers. Here’s a quick comparison drawn from my experiments.
| Material | Softness | Durability | Cost / Availability |
|---|---|---|---|
| Tracing paper | High | Low (fragile) | Very cheap / easy |
| Baking parchment | Medium-high | Low-medium | Cheap / easy |
| Frosted milk-bottle plastic | Medium | High | Free / common |
| Silicone sheet | High | High | Moderate (craft stores) |
| Translucent hot glue blob | Medium | Medium | Very cheap |
Lighting techniques for miniature scenes
Once you have a museum-like light source, how you position it matters. I treat the keychain as a small directional softbox and combine it with cheap bounce cards or negative flags to sculpt the scene.
Colour temperature and gels
Many cheap keychain LEDs are quite cool (bluish). For a museum warmth I add a gel: a thin triangle of tracing paper tinted with a permanent marker (amber or warm yellow) taped in front of the diffuser transforms the light instantly. For colour-critical work, swap in LEDs labelled 3000K–3500K or use removable coloured gels bought from camera suppliers.
Examples from my projects
I used this setup on a miniature puppet theater I made last winter. With two keychain softboxes — one above as fill and one from the side as rim — the paper characters looked like they were onstage under theatre lights. On another occasion I used a single frosted milk bottle diffuser to create a soft daylight window effect for a tiny painted room, and the result had that slow, museum vitrined feel: soft, non-glare, and a little reverent.
Troubleshooting tips (from my mistakes)
Why this hack works so well
Small subjects need small light sources, but small light sources are naturally harsh. The trick is turning that harshness into controlled softness without losing direction. The keychain LED provides compactness and intensity; the diffuser and reflector tame and shape the beam. You end up with a miniature light that behaves like museum spotlights — highlighting texture and form while keeping glare and harsh shadows away.
Where to buy parts
I usually pick up keychain LEDs from local pound shops or marketplaces like Amazon and eBay. For nicer LEDs, look at compact lights from Olight or Nitecore. Diffuser materials are mostly household items: tracing paper from stationery stores, parchment from supermarkets, and silicone sheets from craft shops.
If you try this, tell me what you make. I love seeing how people adapt simple tricks for their own tiny worlds — and I always keep a few variations on hand for different moods. Happy lighting!