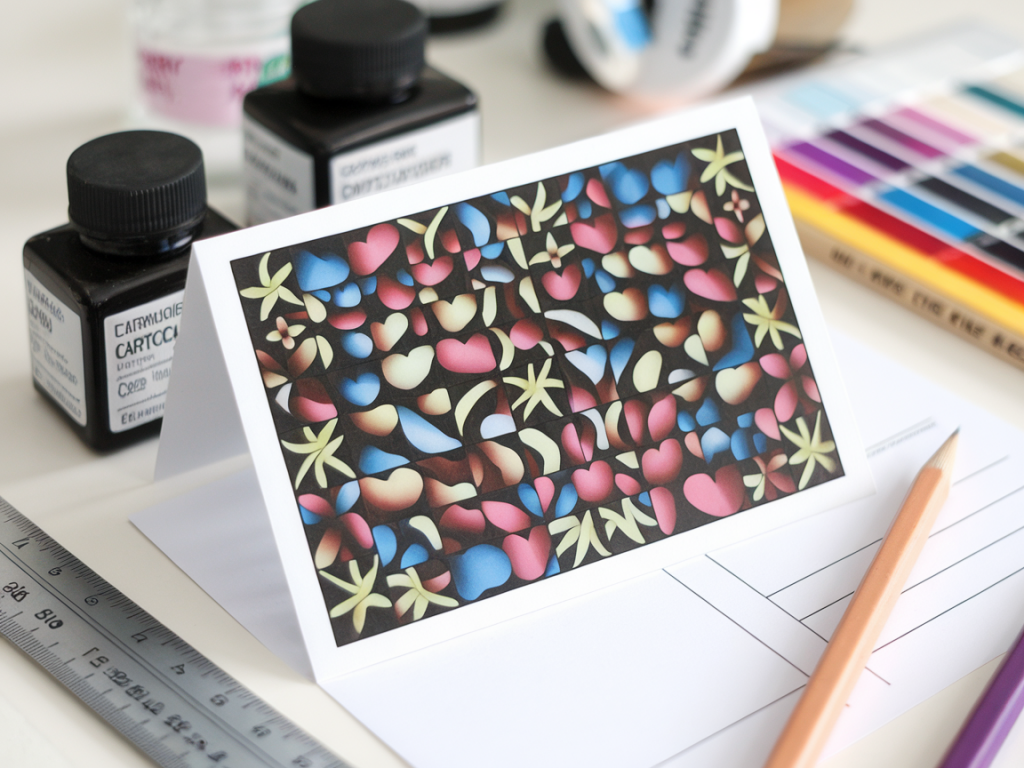
I love tiny optical tricks that make people do a double-take — a simple flip image on a postcard feels like magic you can hold. In this post I’ll show you how to design a one-sheet lenticular illusion for a postcard using ordinary household inks and a bit of patience. The method I describe works well for a two-frame “flip” or a three-frame “morph” and relies on interlacing your artwork and adhering it to a thin lenticular lens sheet. You can buy the lens sheet cheaply online; most of the “household” compromises are about using consumer inkjet or laser prints and sealing them so the inks don’t bleed or scratch.
What you’ll need
- Interlaced image (I’ll explain how to make this): two or three images of the same size
- A lenticular lens sheet — for postcards, a 60 LPI (lenses per inch) sheet is a good starting point
- Inkjet or laser printer (I use an Epson inkjet at home)
- Heavyweight paper or thin cardstock (200–300 gsm) for the print
- Clear spray sealant (matte or satin) or an acrylic fixative
- Double-sided adhesive (low-tack for micro-adjustments) or spray adhesive
- Sharp craft knife or guillotine cutter, ruler, and cutting mat
- Transparent ruler and a pair of fine-tip alignment pins (or sewing pins) for registering
- Small clamps or binder clips
Choosing the lens and understanding pitch
Lenticular lenses are sold by their pitch — examples are 33, 40, 60 LPI, etc. The higher the LPI, the finer the slices you need and the closer the viewing distance required. For postcard size (around 148 × 105 mm A6 or 4×6 inches), a 60 LPI sheet gives a pleasant, sharp flip for close-hand viewing. If you buy a sheet, it will usually tell you the recommended interlacer settings.
| Lens pitch (LPI) | Typical viewing | Recommended slice width |
|---|---|---|
| 33 | longer distance — dramatic depth | wider slices, easier to slice manually |
| 60 | near-hand flip/motion — ideal for postcards | narrow slices — use software to interlace |
Preparing your artwork
I sketch my two states — for example, a smiling face and a surprised face — at the same size and resolution (300 dpi works fine for print). Keep your composition simple: strong silhouettes, clear contrasts, and elements that move distinctly between frames give the best effect.
Software options for interlacing:
- Photoshop — good for precise control (I’ll outline a quick method below).
- GIMP — free alternative; you can slice layers and recombine manually or use scripts.
- Online interlacers — search “lenticular interlacer” and you’ll find free tools where you enter the pitch and number of frames; they output a single interlaced image ready to print.
Quick Photoshop method for a 2-frame flip:
- Create a document sized to your postcard + a small bleed, 300 dpi.
- Place Frame A on Layer 1 and Frame B on Layer 2; align them perfectly.
- Divide the width into vertical strips sized to the lens pitch (for 60 LPI on a 4-inch wide card: 60 lenses × 4 inches = 240 lenses? Actually LPI = lenses per inch, so one lens ≈ 1/60 inch ≈ 0.0167 inch ≈ 0.423 mm. For 4 inches you have 240 lenses; you need to slice per lens; use the interlacer or make a narrow marquee of that width and alternate.)
- Use a repeating mask: make a selection of one-strip width and duplicate across the width in a pattern 010101 so that Layer 1 gets the odd slices and Layer 2 the even slices.
- Flatten and save as high-quality PNG or TIFF for printing.
If that sounds fiddly (it is, when you do it by hand), the easiest route is to use a free online interlacer. You upload your frames, set the LPI and print DPI, and it spits out a correctly interlaced file.
Printing with household inks — tips for success
Most consumer inkjets (Canon, Epson) and even laser prints will work well enough. The main issues are ink smudging and image clarity when viewed through the lens.
- Use the best paper your printer can handle: a heavyweight matte paper gives good adhesion to glue and reduces shine that can create unwanted reflections.
- Print at your printer’s high-quality setting: “photo” or “best” mode reduces banding.
- Let inks dry thoroughly: leave prints flat for at least 30 minutes; longer in humid conditions.
- Seal the print: a light coat of clear spray fixative (Winsor & Newton or Mont Marte) prevents smearing when you apply adhesive and handles. Two light coats are better than one heavy coat.
- Test small: before committing to a batch, print a small test strip and adhere it to a scrap of lens to check the effect and alignment.
Cutting and aligning the lens
The lens sheet will usually have a protective peel film — don’t remove the wrong side. One side is the curved lens; the other side is typically flat and may have a peel film. You want the flat printed image underneath and the curved lens on top so that the ridges refract the interlaced strips.
- Trim the interlaced print leaving a tiny margin for alignment, then cut the lens sheet slightly larger than the print.
- Use registration marks: add small crop marks outside the postcard area on both the print and the lens (gently mark with a pencil on the lens film). These will help you line up the print under the lens.
- Work on a clean flat surface with good light. I like to use a piece of glass or a lightbox if I have one; it makes lining up the slices under the ridges easier because you can see through the lens slightly.
- Apply a thin bead of spray adhesive to the printed side (or to the flat side of the lens if manufacturer instructions say so) and slowly lower the lens, aligning the registration marks. Don’t press fully until you’re happy with the registration — you may need to slide a millimetre for perfect action.
Adhesives and finishing
Even small bubbles will show, so work carefully. If you see tiny bubbles you can push them gently out toward the edge with a squeegee or a credit card wrapped in a soft cloth.
- Use a low-tack, even adhesive; spray adhesives like 3M 77 are popular for smooth, even coverage.
- Once glued and dry, trim the edges with a sharp blade for a crisp postcard finish.
- Seal the back with a strip of cardstock or thin board to protect the postcard and give it body. For mailing, standard postcard weight is fine (around 300–350 gsm total).
- If you expect rough handling or want extra longevity, encapsulate the whole postcard in a clear acetate sleeve for mailing, though this will add a reflective layer that slightly reduces the clarity of the lenticular effect.
Troubleshooting common problems
If the flip is fuzzy or shows ghosting:
- Check registration: even a fraction of a millimetre shift ruins crispness. Re-align and try again.
- Make sure the interlace pitch matches the lens pitch. If they don’t match you’ll get moiré or soft blending.
- Confirm the lens orientation — curves up and flat side down on the print.
- Try a higher DPI print setting; banding often comes from low-resolution output.
If the ink smudges when you glue:
- Apply more fixative coats and allow longer drying time.
- Switch to pigment inks (Epson printers with pigment inks resist smearing better than dye inks).
- Alternatively, choose a laser print if you have access — toner adheres better under pressure.
Design ideas and creative variations
Simple flips are the most reliable: character A / character B; closed eye / open eye; day / night. For something a little more surprising, try:
- Three-frame morphs (A → B → C) — needs an interlacer and a lens that supports three frames (check the interlacer settings).
- Parallax depth: create layers that shift sideways slightly to imply depth rather than an obvious flip.
- Combine lenticular with embossing: deboss a small seal or shiny foil on the flat area for tactile interest (test foil over lens carefully — do not apply heat directly to the lens).
I don’t pretend this is easy the first time — lenticular is a craft of patience and tiny adjustments. But once you nail the registration and learn how your printer behaves, it’s enormously satisfying to hand someone a postcard that quietly animates in their palm. If you want, I can share a simple PSD template sized for A6 postcards and set up for 60 LPI, or walk you through an interlacer step-by-step with screenshots. Tell me which printer and lens pitch you have and I’ll tailor a template for you.