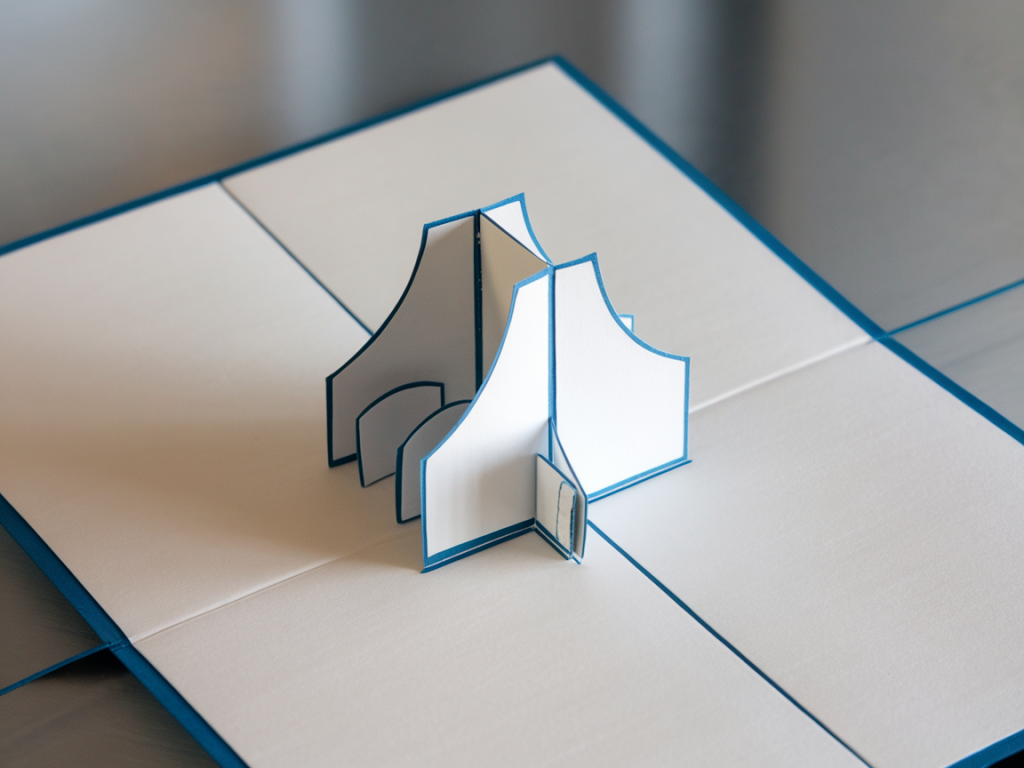
I love sending small paper sculptures through the post — there's something delicious about a flat envelope that unfolds into a little surprise at the other end. But post is brutal: bends, slams, sorting machines. Early on I discovered the easiest part of a pop‑up project to fail in transit is the hinge. Glue can peel, paper can tear, and exposed magnets can shift or detach. Over the years I’ve developed a neat solution I call a hidden magnetic hinge: a low-profile, fold-flat mechanism that keeps a pop-up secure in its closed state yet springs open reliably, and crucially, survives the post.
Why use a magnetic hinge?
Magnets are perfect for mailed pop-ups because they add no bulk when flat, they don’t rely on fragile glues across moving parts, and they create a satisfying snap when opening. A well-designed hidden magnetic hinge removes the need for visible straps or Velcro that can catch in sorting machines, keeping your card both elegant and durable.
What kind of magnets and materials I use
Choosing the right magnet and materials matters. Here’s what I usually stock in my studio:
Neodymium disc magnets, 3–6 mm thick and 6–12 mm diameter (N42 or similar). These have strong pull in a small package.Thin adhesive‑backed magnetic tape (in 1–2 mm thickness) for low‑strength holds.220–300 gsm paper or card for the pop-up elements; 350–400 gsm for the card base or envelope insert.Acid‑free PVA glue (I like Lineco PVA) and a strong double‑sided adhesive like 3M VHB for bonding magnets to non-porous surfaces.Clear polyester film (Mylar) or 80–120 gsm tracing paper for reinforcement strips when needed.I avoid glued magnets alone for high‑stress points; instead I sandwich them or encapsulate them so the paper takes the load.
Designing the hinge geometry
The hidden magnetic hinge is really a small pocket that holds two opposing magnets, one on each side of the fold, with a little paper architecture that keeps them aligned. The hinge needs to:
Be small and flat enough to fit inside a standard envelope.Allow the pop-up to fold completely flat without the magnets rubbing or chipping.Be shielded so the magnets don’t move when jostled in transit.My typical layout: the magnets sit about 2–3 mm away from the fold line on each leaf. That keeps magnetic attraction across the closed seam while keeping the magnets out of the crease. If the magnets are too close to the fold they rub on each other; too far and the hold weakens.
Step-by-step build
Below is the method I use for a simple two-leaf pop-up (like a gatefold card). You can adapt these steps to more complex mechanisms.
Cut two matching paper/panel leaves for your pop-up, and plan where the hinge will sit. Mark a pair of locations opposite each other, 2–3 mm from the fold line.Make magnet pockets: cut four small rectangles of card (roughly 12 x 8 mm for a 8 mm disc magnet) — two for each pocket (front and back) so the magnet is sandwiched between them. If you prefer, use a single thicker card folded around the magnet.Glue one side of each pocket to the panel, with the pocket opening facing the edge toward the fold. Use PVA sparingly so the pocket remains slightly flexible. Reinforce the pocket's outside with a thin strip of Mylar or tracing paper glued over the seam to help it survive rough handling.Insert the magnets into the pockets: ensure the polarities are arranged so opposite poles face each other across the closed seam (N to S). Test with a temporary placement (low tack tape) before sealing permanently.Seal the pocket by gluing the other card rectangle over the magnet. Use a strong glue and press firmly. For extra durability, add a thin strip of cloth or webbing glued around the magnet edges inside the sandwich.Add a paper bridge: cut a small reinforcing bridge (about 6–8 mm wide) that overlaps both pockets when the card is closed. This bridge keeps the pocket halves aligned and prevents lateral slipping. Glue only the outside edges so the bridge isn’t too rigid.Trim any excess, fold the card carefully, and test the open/close action. The panels should fold flat and the magnets should meet with a satisfying alignment.Adhesives and bonding tips
Magnets have slick surfaces, so a normal PVA won’t always hold them to metal or glossy magnets. I use a combination strategy:
Roughen the magnet surface lightly with fine sandpaper before gluing to give mechanical tooth (do this gently so you don’t crumble the coating).Use a thin smear of cyanoacrylate gel like Loctite gel for initial tack if the magnet needs to bond to a non-porous backing, then reinforce with PVA over the pocket edges so the paper takes the stress, not the glue joint.For fully hidden or exposed magnets, a tiny dot of silicone adhesive (RTV) around the edge inside the pocket gives shock absorption.Postage-proofing strategies
Now the key part: making this survive the postal system.
Buffer and stiffen: place the pop-up inside a slightly larger thin board or a 350–400 gsm backing sheet. This reduces bending during sorting machines. I sometimes mail within a rigid cardboard mailer or a "Do Not Bend" cardboard sleeve.Secure loose elements: any moving limb or small parts should be taped gently into place with low‑tack tape that will easily peel on opening. I use removable drafting tape for this.Seal edges: reinforce the envelope edges with a narrow strip of paper or washi tape to prevent slippage into the flap or seams.Avoid magnetic interference: if you're sending more than one magnet or including a magnet near a postage meter, place the whole item inside a paper sleeve and clearly label it as containing magnets if requested by the carrier. Usually small neodymium discs are fine, but check your postal service rules — some aviation rules apply to larger magnets.Troubleshooting common problems
If the hinge doesn't hold:
Check polarity — it's easy to flip one magnet. I mark the pole with a tiny dot of paint when building.Increase contact area — swap to slightly larger diameter magnets or use a pair of thinner magnets stacked to increase surface area without adding thickness.Prevent side slip — add the alignment bridge or tiny tabs inside the pocket so the magnet can't rotate.If the pop-up doesn't fold flat:
Ensure magnets aren't crossing the fold line. Try repositioning them 1–2 mm further from the crease or recess them into a shallow diecut so the panels meet flush.Variations and finishing touches
Some playful changes you might try:
Use patterned or metallic paper to hide the pocket seams so the hinge becomes an aesthetic detail.Swap in reversible magnets (ring magnets) to create a lighter hold that lets the piece open more easily.Combine a tiny elastic loop or paper gusset with the magnet for a two‑stage release — the magnet keeps things closed, the gusset controls the flip angle.Finally, label your folded piece lightly on the back with a short instruction: "Gently peel open at the center" — recipients often appreciate a hint.
I keep a few pre-made magnetic pocket templates in my sketchbook — they save time and mean I can test different magnet sizes quickly. If you make a batch of cards, consider a small jig to glue pockets in consistent positions. Mail-testing is also crucial: before sending a run, post a sample through a local machine to see how it fares and tweak from there. Sending tiny wonders that survive the journey is one of my favourite kinds of problem-solving — I hope these techniques help your next fold‑flat pop‑up arrive smiling.