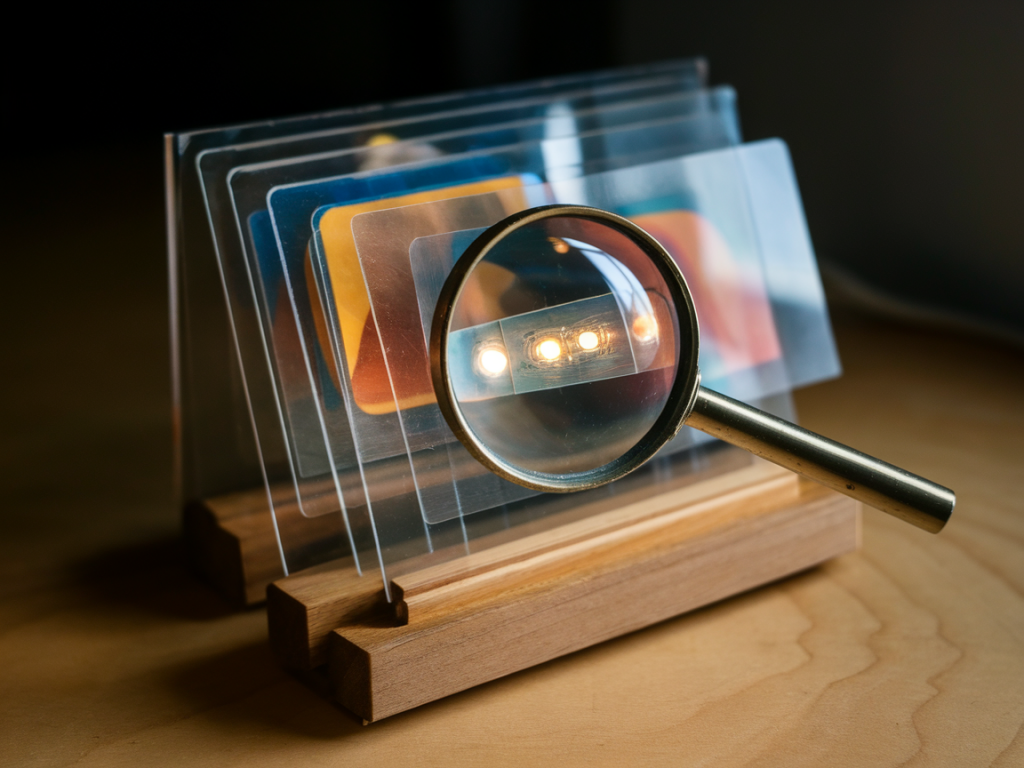
I love making tiny theatrical objects — things that ask you to lean in, tip the light, and find a small surprise. This postcard-sized optical peep show is one of my favourite pocket-scale projects: it’s quick to make, uses inexpensive materials, and plays beautifully with shadows and light. In this version I combine simple acetate layers, a few LEDs and the flashlight on your phone to create depth and movement. You don’t need a lot of tools, and the result is a charming handmade object you can carry in your bag or send through the post.
Why acetate, LEDs and a phone flashlight?
Acetate is transparent, thin and wonderfully flexible for layered imagery. It lets you paint, draw and mask areas that become floating planes when stacked. LEDs give an easy, focused light source for accent and colour, while a phone flashlight provides a bright, directional backlight that amplifies contrast and creates dramatic silhouettes. Together they let you sculpt light within a postcard-sized frame and even add simple animation using a moving light source.
Materials
- Stiff postcard blank or 300–350gsm cardstock (A6 size, roughly 105 × 148 mm)
- Clear acetate sheets (0.2–0.5 mm thickness; overhead projector acetate or craft acetate)
- Thin black card or black paint for masks
- Fine-tipped permanent markers, opaque white gel pen, alcohol inks or acrylic paints
- Micro LED lights (3mm or 5mm) or an LED tea light (battery-powered)
- Small coin cell battery (CR2032) and holder — if wiring LEDs
- Double-sided tape, PVA glue or a glue stick
- Craft knife, cutting mat, ruler and bone folder
- Thin foam spacers or strips of card (to separate acetate layers)
- Black tape or gaffer tape
- Optional: vellum diffuser, coloured gels (or cellophane), a tiny switch
Dimensions and layer planning
| Element | Suggested size (mm) |
|---|---|
| Postcard frame (A6) | 105 × 148 |
| Visible window | 90 × 120 |
| Acetate layers | Cut to window size |
| Spacer thickness | 1–3 mm (depending on depth) |
I usually leave a 5–8 mm border around the visible window so the postcard still reads as an object. The number of acetate layers depends on how much depth you want: three layers is a sweet spot for a small peep show (foreground, midground, background).
Step-by-step build
1. Design the scene. Sketch a simple scene that reads in layers. Think silhouettes and shapes rather than detail. I often work with a foreground element (a tree or frame), a midground (a character or prop) and a background (a moon, distant city or sky). Keep strong contrasts; the phone flashlight will punch through clear areas and silhouettes will read crisply.
2. Prepare the postcard frame. Cut a window into your postcard blank — this will be the viewing aperture. Use a ruler and craft knife for a clean edge. If you want the postcard to close / mail safely, score and fold to create a back pocket that hides batteries or LEDs.
3. Make the acetate layers. Cut acetate to the window size. Decide which layer is which and mark lightly on the edge (I use a tiny sticker). On the background acetate I often paint a wash of ink or acrylic to create a sky; dilute acrylics or alcohol inks work beautifully. For mid and foreground, draw or paint shapes in opaque black (Posca pens or permanent markers are great). You can also use masked areas — stick removable tape, paint, then peel to reveal clear windows.
4. Add highlights and colour. Use an opaque white gel pen for highlights on faces or stars. For coloured lights, glue tiny bits of coloured cellophane or use gels in front of the LEDs. If you want glowing windows in a distant city, punch small holes in the acetate and back them with a yellow gel.
5. Build spacers and assemble layers. Use thin strips of card or foam (1–3 mm) around the edges of each acetate layer to create depth. I cut long strips and attach them to the underside of each layer with double-sided tape, then stack the layers into the postcard window like a sandwich. Make sure the spacers don’t overlap the viewing area — they should sit outside the visible window or as thin ribs between layers.
6. Integrate LEDs. For a postcard-sized peep show I either place a single micro LED behind a small feature (moon or lantern) or use a tiny LED strip at the top edge to wash the scene. If using micro LEDs, solder very short wires to a coin cell holder, test polarity and fix the LED in place with a dab of hot glue (low-temp). Hide the battery and holder in the back pocket of the postcard. If you prefer not to solder, tiny LED tea-lights or prewired micro LEDs (available online) are an easy option — they often clip directly onto a coin cell.
7. Add a phone flashlight mount. The peep show looks best with a directional backlight. I make a small fold-out stand on the back of the postcard: fold a strip of card into an L-shape and tape it so the top rests flush with the viewing window edge. This gives you a consistent position to hold your phone. Alternatively, hold your phone flashlight about 2–5 cm behind the postcard window and experiment with angles.
8. Diffuse and refine. If the light is too harsh, tack a thin piece of vellum or frosted acetate behind the backmost layer to soften the beam. Conversely, add a small mirror behind the background to increase reflected light. Use black tape to mask any stray light leaks so the scene reads crisply.
Tips for better optical effects
- Use fewer, stronger shapes rather than many small details — they read better in a tiny format.
- Vary spacer thickness for parallax: larger gaps make the foreground move more when the light shifts or when you tilt the postcard.
- If you want simple animation, mount a tiny LED on a sliding strip or use your phone’s flashlight to “sweep” light across the layers, creating movement.
- Test under different ambient light conditions. The effect is most striking in dim rooms.
- Label battery polarity clearly if you share or mail the piece.
Questions people often ask
Can I post this in the mail? Yes, but secure the electronics inside a pocket and mark "Fragile: Electronics". Consider using a thicker outer envelope or a rigid mailer.
Do I need soldering skills? Not strictly — prewired LEDs, battery holders with snap connectors, or LED tea-lights work well. Soldering makes the build neater and more compact.
What materials give the nicest look? I love alcohol inks on acetate for luminous skies and Posca markers for sharp silhouettes. For a vintage feel, try sepia inks and textured cardstock.
How long will the battery last? Coin cell life depends on the LED and usage: a small 3mm LED on a CR2032 can last many hours at low current. Consider adding a tiny switch to extend life.
Making this postcard peep show is one of those projects where constraints — small size, limited light sources, transparent materials — push you into creative solutions. My favourite thing is to hand someone the finished postcard, let them angle their phone flashlight, and watch their face change as the scene breathes. If you make one, tell me what you put inside. I’d love to see your miniature worlds.