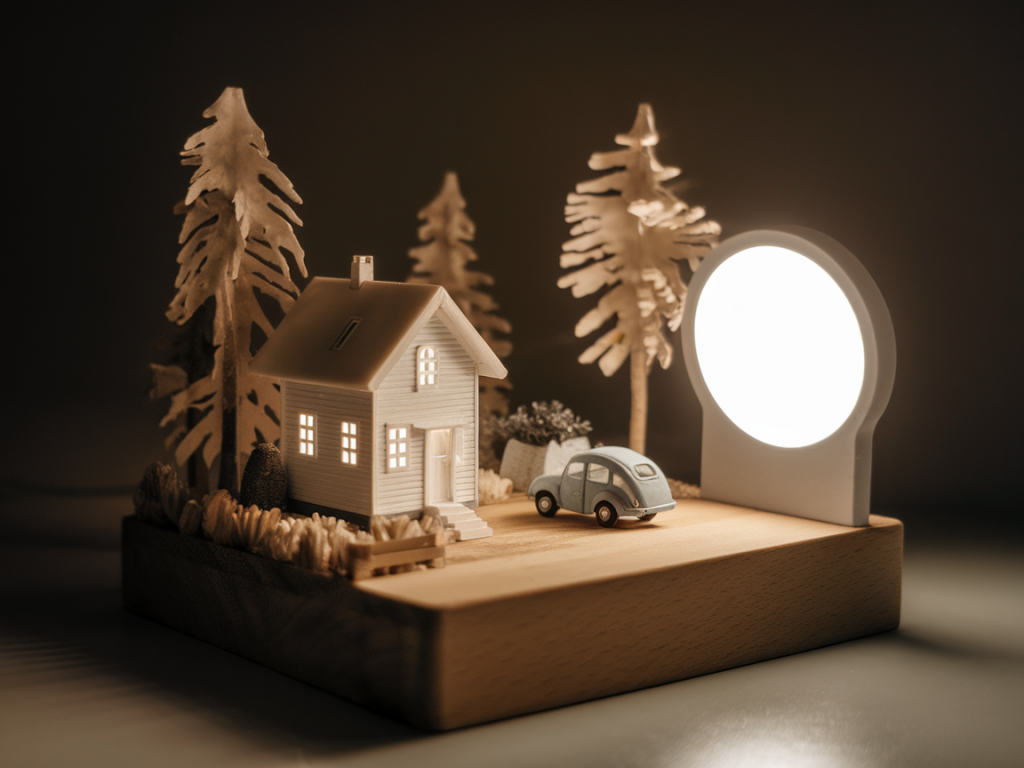
I’ve been photographing tiny things for years — tiny sculptures, paper dioramas and illustration details — and one persistent frustration is lighting. Standard lamps are bulky, expensive or overkill for small setups. I wanted something cheap, pocketable and color-accurate that would give an even wash of light across a miniature scene. After testing a bunch of budget LED keychain lights and inventing a quick diffuser hack, I finally landed on a simple, inexpensive solution that works reliably for macro and miniature photography. Here’s what I learned and how you can recreate it.
Why choose an LED keychain for miniature photography?
LED keychain lights are attractive for a few reasons:
But there are downsides: many cheap LEDs have poor color rendering (low CRI), narrow beam angles, and spotty color temperature. The trick is to find a model with decent color accuracy and then tame the beam with diffusion so the light is soft and even.
What I tested and why I chose the final model
I tested about a dozen keychain LEDs from supermarket brands, Amazon listings and a few boutique flashlight makers. I also compared small penlights and micro-LED panels. The main criteria were:
My winner (and the one I recommend) was a small keychain from Anker’s affordable "Bolder" line and a few similar-style micro-flashlight clones available on Amazon. Why? The LED emitter and reflector in these lights gave a fairly even, neutral-ish tone that responded well to white balance adjustments. They’re not perfect CRI 95 studio lights, but they’re surprisingly good for the price and purpose.
Practical notes on brands and models
If you want direct search terms: look for “compact LED keychain flashlight 3W neutral white” or check models like the Anker Bolder LC40 (or small models in the Anker lineup), ThorFire mini flashlights, and high-rated AmazonBasics micro-LED lights. Avoid extremely cheap, multi-color LEDs that switch through color modes — they tend to have poor white balance and lots of color tint.
Important: test a light before buying multiple. Check a sample photo of a white card under the light on your phone, and try a quick edit to see if the white balance is correctable without heavy hue shifts.
My simple diffuser hack — materials and method
Once I had a good keychain LED, the second problem was smoothing the beam. A bare keychain LED is often a hot spot surrounded by dark falloff. I wanted a soft, even wash. The solution I use is cheap, portable and reversible.
Materials:
Method:
This combination turns a hard pinpoint into a gentle disc of light. It’s breathable — the silicone keeps the tissue from getting too close to the LED and reduces hot spotting. The materials are washable and reusable, and because they’re removable, the keychain still functions normally.
How I use these lights in practice
Here are some working tips from my studio sessions:
A quick comparison table
| Feature | Keychain LED (my pick) | Cheap multi-color LEDs | Small panel lights |
| Cost | Low (under £10–£25) | Very low | Medium–High |
| Portability | Excellent | Excellent | Good |
| Color accuracy | Good for price | Poor | Very good |
| Beam control | Easy with diffuser | Hard to correct | Built-in diffusion |
| Battery life | Short–moderate | Short | Longer/USB powered |
Final practical tips
Keep multiple diffusers in your kit: a piece of thin tracing paper, a slice of silicone baking mat, and a frosted plastic bead can cover most needs. Label them if you make different thicknesses so you can repeat setups. If you’re shooting time-consuming builds, consider using rechargeable batteries or a USB-mini flashlight to avoid mid-shoot battery swaps.
Most of all: experiment. The magic for me often comes from trial and error — a diffuser that’s too thick becomes a beautiful soft glow, while two lights with a small offset create a convincing miniature sun. The combination of a decent budget LED keychain and a tiny handmade diffuser is one of the most flexible, affordable tricks I’ve added to my miniature photography toolkit.