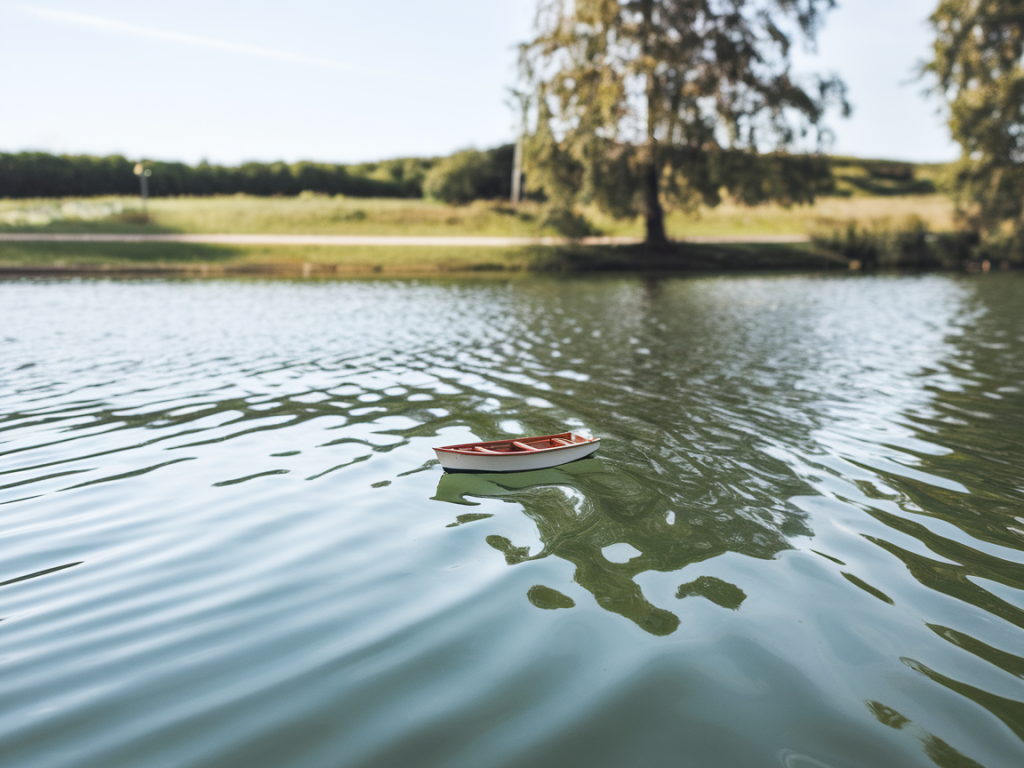
I love making tiny worlds that feel alive, and one trick I return to again and again is creating realistic water ripples without reaching for resin. Resin is wonderful, but it can be messy, smelly and intimidating — especially when you want to make small, repeatable effects or work in a well-ventilated kitchen table setup. Over the years I've experimented with household varnishes, gloss mediums and other accessible finishes to coax convincing ripple textures out of paper, clay and miniature scenes. Below I share what I use, how I use it and the little hacks that make the difference.
Why use varnish instead of resin?
Resin gives a glassy depth that's hard to beat, but varnishes have their own advantages for miniature ripples:
- Lower fumes and simpler cure: Many varnishes (especially water-based) are much easier to use in small spaces.
- Controlled texture: Varnish can be applied in thin layers and manipulated while tacky to build small ripples without a thick pour.
- Less waste/cheaper: A small pot of gloss varnish goes a long way compared to mixing resin batches.
- Surface adhesion: Varnish sticks well to paper, painted foam, polymer clay and painted wood.
Household varnishes and products I recommend
Not all varnishes are created equal. Here’s a practical list of products I’ve tested and how they behave when used to make water ripples:
| Product | Type | Viscosity / Body | Best use |
|---|---|---|---|
| DecoArt Triple Thick Gloss | Water-based glaze / varnish | Thick | Excellent for shallow ripples and building small domes; self-levels slightly |
| Liquitex Gloss Varnish (Heavy Body) | Acrylic varnish | Medium | Good for painted surfaces; reworkable while tacky |
| Winsor & Newton Galeria Gloss Varnish | Acrylic varnish | Medium-low | Clear finish with minimal brush marks; great for thin sheen ripples |
| Mod Podge Gloss | PVA-based decoupage sealer | Thin to medium | Budget-friendly, good for thin layers and small highlights |
| Clear Nail Polish (gloss) | Solvent-based lacquer | Thin | Perfect for tiny droplets and pinpoint ripples |
| Polyurethane (Ronseal / Rust-Oleum) | Solvent or water-based | Medium-high | Durable finish for outdoor models; can yellow over time (solvent types) |
Techniques to create realistic ripples
Technique matters as much as product choice. Here are workflows I use depending on the scale and desired effect.
1. Thin, shallow ripples — the "painted puddle" look
- Paint your base scene (rocks, painted under-layer for depth). Let paint fully dry.
- Thin a gloss acrylic varnish (like Winsor & Newton) 10–20% with distilled water or acrylic retarder to help self-leveling.
- Brush a thin coat over the area. While still tacky, drag the tip of a toothpick or needle gently across the surface to make concentric rings. Keep motions light — you want hairline ridges, not deep grooves.
- Let dry fully, then add a second, slightly thicker coat to enhance shine and depth.
2. Small domed ripples and droplets
For little raised ripples and beads of water (think raindrops on a leaf), I reach for nail polish or DecoArt Triple Thick.
- Use a toothpick or the bottle tip of clear nail polish to place tiny dots. Nail polish shrinks less and forms sharp domes quickly.
- For larger beads, apply DecoArt Triple Thick carefully from the nozzle. It builds thicker, crystal-clear drops that stay domed.
- Cure fully flat in a dust-free zone. If needed, you can top with another tiny drop after the first has cured to amplify height.
3. Layered ripple with depth
To fake depth without resin, simulate it with paint under a glossy surface:
- Paint a graded darker-to-lighter base (deep blue or green to paler tones) where the water is deepest.
- Mask the shoreline and apply a thin coat of gloss varnish.
- Once dry, add hand-drawn ripple highlights with a pale glaze (thinned titanium white) sealed with another varnish coat.
- Finish by adding tiny gloss droplets or line ripples with a toothpick to catch light.
Practical tips and troubleshooting
Some problems crop up repeatedly; here’s how I deal with them:
- Bubbles: Minimise shaking the bottle. Pour slowly, and let the varnish sit for a few minutes after pouring to calm. If bubbles appear, a tiny heat source — a hairdryer on low from a distance — will pop them (test first).
- Yellowing: Avoid solvent polyurethane for white-painted or light-toned scenes; water-based acrylic varnishes yellow much less.
- Runs and drips: Work in thin layers and allow full curing between coats. If a drip happens, once dry you can sand gently with very fine sandpaper and reapply.
- Adhesion to polymer clay: Scuff the surface lightly or use a primer — varnish sticks better to slightly toothy surfaces.
- Dust: Dry varnish in a covered box (a cardboard shoebox with the lid removed and a clean sheet tucked over the top works wonders).
Safety and workspace
Even water-based varnishes can have additives. I work in a well-ventilated room, keep the pots capped when I’m not using them and wearing nitrile gloves if I’m doing lots of detail work. For solvent-based materials like nail polish or some polyurethanes, ventilation and a mask rated for organic vapours is essential.
When to still choose resin
There are moments when resin is the right tool: deep lakes, perfectly clear glass-like finishes or embedding objects below the surface. But for many miniatures, dioramas, tabletop scenery and small props, household varnishes — combined with paint and a steady hand — give convincing ripple effects with fewer headaches.
If you want, I can lay out a step-by-step project for a tiny pond using just acrylic varnish and DecoArt Triple Thick, with a materials list and timing guide. Tell me the scale you’re working at (1:12, 28mm tabletop, etc.) and I’ll draft it up.