I love the way ordinary things carry invisible stories: a chipped porcelain button, a length of brass tubing, a toy soldier missing an arm. Turning these found fragments into a sculptural narrative is one of my favorite creative games. It’s equal parts detective work, collage and small-stage theatre. Below I share a practical, stepwise method I use to take disparate objects from a junk drawer (or a market stall) and assemble them into pieces that feel coherent, purposeful and a little bit magical.
Why work with found objects?
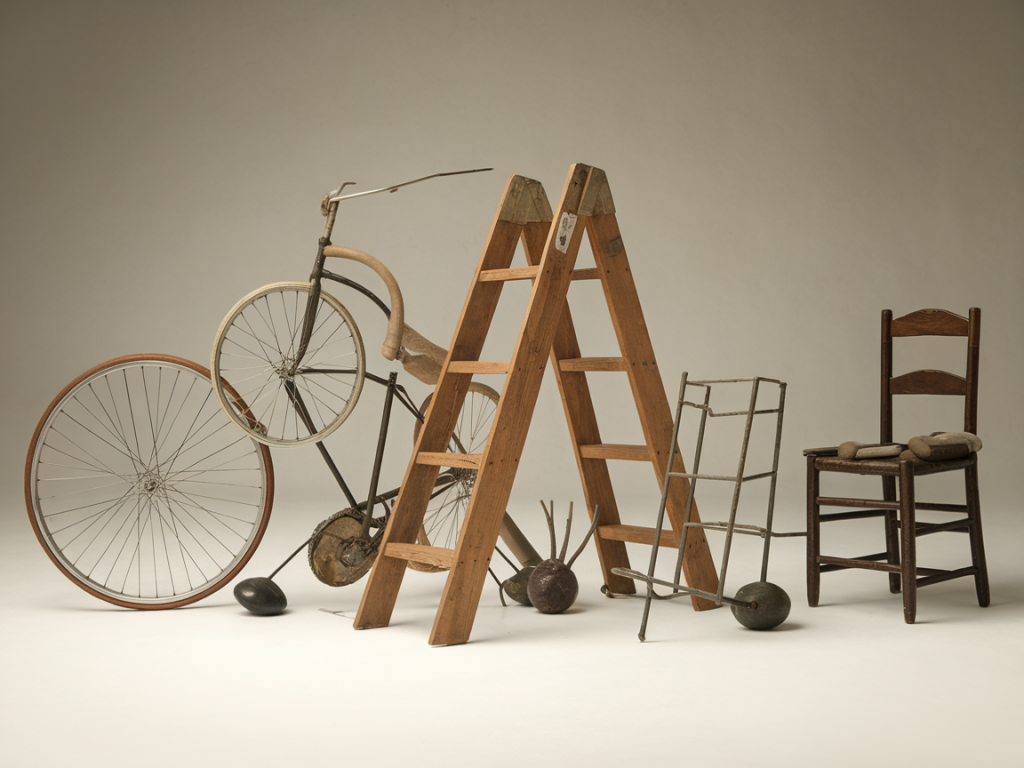
People ask me: isn’t it easier to start with fresh materials? Sometimes — but found objects bring texture, patina and the allure of mystery. A scrap of wood has a history; a rusted washer suggests weather and time. They force you to respond instead of imposing your plan from the start. That tension between control and serendipity is where the best surprises happen.
Step 1 — Collect with intent
Collecting is not hoarding. It’s a targeted, curious practice. I keep a small box in my studio and a lightweight tote for walks. When I pick items, I ask myself a few quick questions:
- Does it have a shape or texture I can’t easily replicate?
- Could it suggest a character, setting or function?
- Is it structurally sound enough for manipulation?
I look for contrasts — soft vs. hard, smooth vs. pitted, shiny vs. matte — because contrast gives visual interest. I also pay attention to scale: an object that’s wildly out of scale can work, but deliberate choices about scale help maintain coherence.
Step 2 — Sort, edit and group
Once I have a batch of finds, I lay them out and start editing. This is when the narrative seeds often reveal themselves. I ask:
- Which objects seem to belong together, visually or conceptually?
- What feelings or story cues do they suggest? (nostalgia, absurdity, abandonment)
- Which items are technically usable — can they be glued, sewn, pinned, or threaded?
I usually reduce the pile by at least half. Fewer, stronger elements will make the story clearer. I make small groups — “the mechanical bits”, “soft textiles”, “face-like forms” — and photograph them. The photo helps me step back and see relationships I missed up close.
Step 3 — Find a central idea or 'through-line'
A sculptural narrative needs a through-line — a unifying concept that guides decisions. It can be literal (a castaway’s shrine) or abstract (the idea of migration represented by moving parts). To find this through-line I freewrite for five minutes about the objects: where they might have been, what they might want, or what mood they evoke. Usually a striking phrase surfaces; I use that as my spine.
Step 4 — Sketch and prototype
My sketches are often tiny and schematic. I draw how the major parts might relate in space, note attachment points and imagine how the piece will be viewed. Prototypes are quick: tape, wire and cardboard are great for testing composition without committing. This stage is about possibilities, not finishing.
Step 5 — Make structural choices
Decide how the work will stand together. Will it be freestanding? Wall-mounted? Suspended? The mounting method becomes part of the story: a suspended object can feel like a ghost, a mounted piece can be ceremonial. I usually build a lightweight armature from one of these:
- Steel wire (20–16 gauge) for flexible joints
- Wooden dowels for spines and firm supports
- Reclaimed metal pieces for industrial weight and texture
When joining materials, I balance strength with reversibility. Hot glue is fast but brittle; epoxy is strong; brass rod and screw fittings give permanence. For textile-to-metal joins, I use small rivets or stitch through washers so the connection reads as intentional, not accidental.
Step 6 — Create visual cohesion
At this point the object collection can still look like a curiosity cabinet. I use three main strategies to make it read as a single sculptural statement:
- Color harmonies: A light, unified wash — diluted acrylic, milk paint or even coffee staining — can tie disparate surfaces together while leaving texture visible.
- Repetition of motifs: Repeat a small element (a bead, a particular stitch, a copper wire curl) across the piece to create rhythm.
- Shared patina: Oxidizing solutions (safely used) or mixing in powdered pigments creates a consistent aging effect.
I’m careful not to overdo the unification; I want the objects to keep their individual character while feeling like cast members in the same play.
Step 7 — Add narrative details
Small interventions transform objects into characters. Consider these techniques I use:
- Carving a tiny notch or painting a faded tattoo to suggest history.
- Inserting a fragment of handwriting (a torn letter, a stamped ticket) to anchor time and place.
- Adding movable parts — a hinge, a pulley or a sliding panel — so the viewer can discover a hidden element.
Movement is a powerful storytelling device. Even a tiny rotating disk or a flap that reveals a painted eye can make the audience feel like an active participant.
Step 8 — Surface finishing and conservation
Once the composition feels right, I finalize surfaces. I might varnish delicate paper elements with a matte conservation varnish (Grumbacher and Golden both make good options), fix rust with a consolidant, or seal wooden parts to prevent insect activity. If the piece is intended for long-term display, label any potentially unstable materials and avoid acidic tapes or glues that degrade over time.
Step 9 — Display with story cues
How you present the work completes the narrative. I use small props and captions to guide viewers without over-explaining. Lighting can dramatically alter perception: a low side light makes textures pop; a narrow spotlight creates theatricality. For installations, I sometimes build a simple diorama base — sand, fabric, printed ephemera — to set the scene.
Troubleshooting and FAQs
People often ask practical questions. Here are a few I answer a lot:
- Q: What if an object is too fragile to use?
A: Photograph it, print the photo, or use a high-resolution scan to transfer its image onto sturdier material with decoupage or photo transfer techniques. - Q: How do you stop a piece from looking like random junk?
A: Edit ruthlessly, choose a dominant material or color, and rely on repetition. A single recurring element will tie things together. - Q: Can I sell work made from found objects?
A: Yes, but be transparent about materials. If objects are culturally sensitive or copyrighted (branded toys, identifiable photos), consider permissions or altering the item sufficiently to transform it.
Tools and materials at a glance
| Basic tools | Wire cutters, small pliers, craft knife, drill, needle files |
| Adhesives & fixings | Epoxy, PVA glue, hot glue gun, small screws, rivets |
| Surface supplies | Acrylic washes, powdered pigments, matte varnish (Golden, Liquitex) |
Working this way has taught me that the story is rarely a grand narrative; it’s an accumulation of tiny choices that lead the viewer toward a feeling or a question. The objects do most of the talking — my job is to curate their dialogue, set the stage and leave a small opening for the imagination to step through.