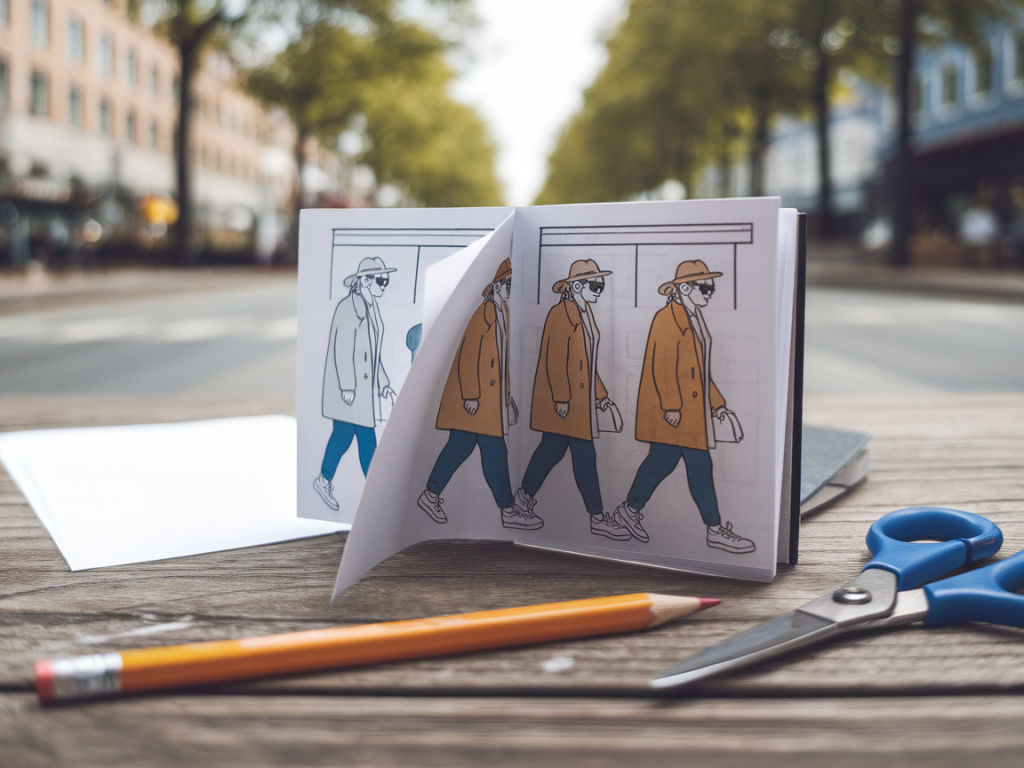
If you want a tiny, delightful flipbook that fits in a postcard slot and flips like a charm, you don’t need a full studio of supplies. I’ve made dozens of pocket-sized flipbooks that read smoothly using only three core materials: paper (thin for the moving pages and heavier for the backing), PVA glue (a good white craft glue), and a strong binder clip. I’ll walk you through a simple, repeatable method that gives a satisfying, buttery flip even if you’re working on the kitchen table.
Why these three materials?
Paper is the heart of the book: the thinner the pages, the more you can stack, and the cleaner the flip. I use thin copy paper (70–80 gsm) for the animation pages and a single postcard-weight card (around 250–300 gsm) for the backing.
PVA glue (also called white craft glue or bookbinding glue) is flexible when it dries and bonds well to paper fibres — important for a spine that must flex a lot. Brands like Aleene’s, Elmer’s PVA or a bookbinding PVA all work.
A binder clip holds the stack perfectly aligned while the glue sets and is also the easiest inexpensive clamping tool everyone already has.
I’ll also mention a few common tools as “helpers” you probably have at home: a ruler, pencil, scissors, and something flat and heavy to act as a weight while the glue dries. These are tools, not counted among the three materials.
Decide size and frame count
For postcard size I like A6 (105 × 148 mm / roughly 4.1 × 5.8 in) — big enough to draw on, small enough to fit in a real postcard slot. A flipbook that feels smooth usually needs at least 40–60 frames; 80+ is extra silky. The thinner the pages, the higher you can go.
| Frames | Feel | Notes |
|---|---|---|
| 30–40 | Quick, staccato | Good for short gestures |
| 50–70 | Smooth, satisfying | Sweet spot for most postcard flipbooks |
| 80–120 | Very fluid | Requires thinner pages or fewer backing layers |
Preparing your pages (the drawing workflow)
There are two main ways to create the frames: draw each page individually using onion-skinning as a guide, or print a pre-designed sequence. If you’re drawing freehand, keep consistent margins and a simple registration mark in one corner so every sheet lines up exactly.
My favourite quick method when I want hand-drawn charm is this:
Registering and trimming the stack
Smooth reading depends on perfect alignment. Here’s a quick alignment routine I use:
If your edges aren’t clean, trim them now. A clean, square edge helps the thumb find a consistent flip path. Use a ruler and sharp blade or a guillotine trimmer if available.
Preparing the spine for glue
A glue-ready spine needs two things: a rough surface for adhesion and a slight chamfer so the pages can flex. Here’s my minimal two-step approach without extra materials:
Glue application and clamping
Mix a little PVA with a touch of water if it’s very thick (about 10% water) to make it more soak-in friendly. Use a small brush or even your finger to apply a thin, even coat along the spine. Important tips:
Place the clipped stack under a flat weight (a heavy book works) and let it dry for at least 2–3 hours. For best flexibility, allow it to cure overnight. PVA remains slightly flexible permanently, which is why it’s ideal.
Finishing touches to improve the flip
After the glue has cured, remove the clip and lightly flex the spine back and forth a few times to loosen the pages. Then do these small refinements:
Troubleshooting common issues
Here are problems I’ve encountered and how I fixed them:
Animation tips for small formats
Keep drawings simple and high-contrast: small pages can’t hold tiny detail well. Big shapes and clear poses read at postcard scale. Reuse backgrounds across frames to save time, and focus motion on one or two elements to keep the flip legible. A loop (where the last frame connects neatly to the first) feels particularly satisfying when flipped repeatedly.
With paper, PVA and a binder clip, you can make charming, pocket-sized flipbooks that read smoothly and feel delightful in the hand. The magic comes from careful registration, a clean spine prep, and a patient glue cure — simple things, but they add up to a tiny bit of wonder every time you flip.