I have a soft spot for things that transform the ordinary into something a little magical — a cereal box becomes a stage, a bit of wire becomes a puppet armature, and a bedside lamp turns into a spotlight. This shadow puppet theater is one of those small, joyful projects that feels equal parts craft, theatre and tinkering. It’s cheap, quick to make, and endlessly adaptable. I’ll walk you through how I build mine, offer variations, and share the little tricks I’ve picked up so your shadows look crisp and full of character.
Why cereal boxes and wire?
There’s something wonderfully democratic about using humble materials. Cereal boxes are sturdy, flat and the right size for miniature stages. Wire is flexible, strong and gives you control over movement. Together they allow for a lightweight, portable puppet theater you can customize endlessly. Plus, using recycled materials is part of the fun — the stage itself carries a history, maybe a breakfast you once loved.
Materials I use
Here’s a list of everything you’ll want at hand. I aim for affordable and accessible tools so anyone can try this in an evening.
2 large cereal boxes (or one large shipping box cut down)Thin metal wire (20–24 gauge works well)Black card or thick black paper (for puppets and masking)Tracing paper, vellum or parchment paper (for the screen)White or black acrylic paint (optional, to tidy edges)Hot glue gun and glue sticksUtility knife / craft knife and cutting matRuler, pencil and scissorsClothespins, small binder clips or bulldog clipsLED lamp or strong desk lamp (avoid hot halogen bulbs)Washi tape or masking tapeOptional: paints, colored gels, sequins, pipe cleaners, fabric scrapsMaking the stage
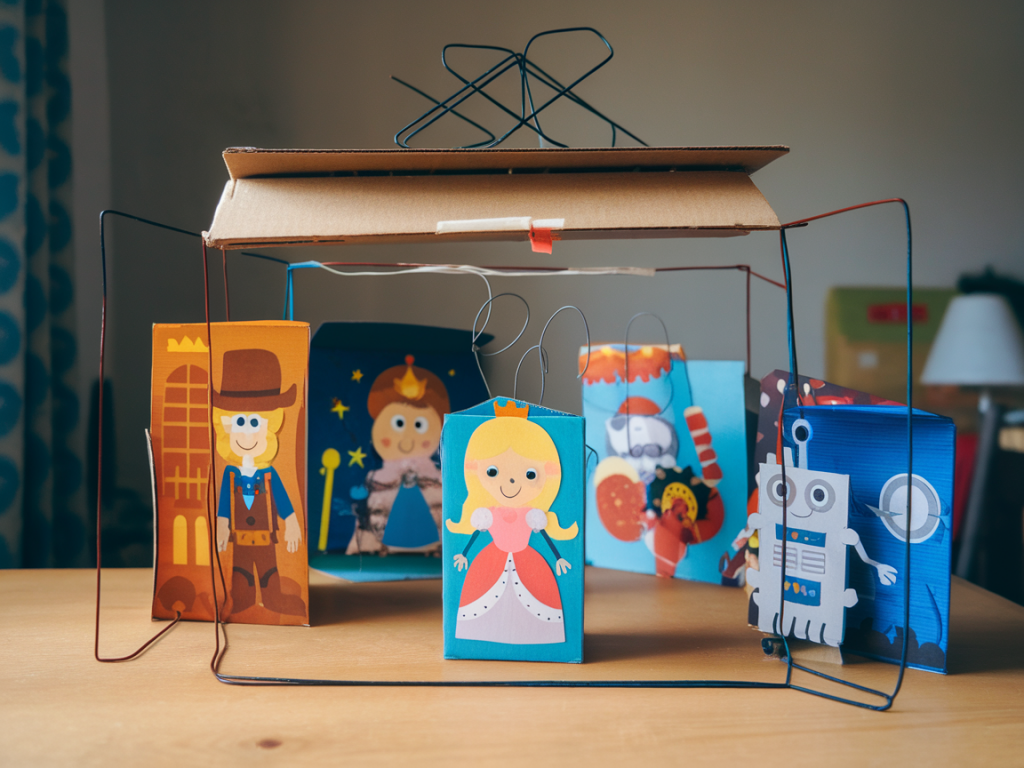
I like a rectangular proscenium-style stage that folds flat for storage. Here’s a simple way to construct one from two cereal boxes.
Flatten both boxes and cut one box so it becomes the back panel and base: aim for an L-shaped piece (back wall + floor). The other box provides the wings and front apron.Cut a rectangular window in the back panel — this will be your screen aperture. The size depends on the boxes, but something around 25–35 cm wide and 18–25 cm tall gives nice proportions.Reinforce edges with extra cardboard strips glued inside. I use hot glue because it sets quickly and provides a strong bond.Attach the floor piece to the bottom edge of the back panel with a strip of tape or a hinge of folded cardboard so the stage can sit upright. Add side wings by gluing two long strips to the inside edges — these help mask light and frame the scene.For the screen, stretch a sheet of tracing paper or vellum across the window and secure it with tape or glue. Keep it taut; wrinkles show up in shadows.Paint the interior of the stage matte black if you want deeper contrast. I often paint around the aperture rather than the entire inside to save time, but a fully black interior gives the crispest shadows.Making puppets
The puppets are where you get to tell a story. I usually make silhouettes from black card and then armature them with wire so they can be animated.
Sketch simple shapes on black card — a cat with an arched back, a little person with an umbrella, trees, a moon. Keep silhouettes bold and distinct; thin details vanish in shadow.Cut out your shapes carefully with a craft knife. For delicate bits like fingers or thin limbs, consider simplifying shapes to ensure they stay strong.Attach a wire handle: fold a length of wire into a V, glue the top ends to the back of the puppet and twist the long tail together to form a handle. Alternatively, poke a small hole and thread the wire through, then tape or glue it in place. The wire should be long enough to reach into the stage and allow comfortable movement.Add joints for complex movement: use two wire segments with a tiny bead or twist point as a pivot, or attach separate limb pieces to the main body with a small brad or split pin so they swing.Lighting and shadow quality
Lighting is everything. A single, strong, directional light source creates the crispest shadows; multiple lights blur edges. I use a bright LED desk lamp with the head positioned close behind the puppets and centered on the screen.
Place the lamp behind the puppets, about 20–40 cm from them. Closer produces sharper shadows but a smaller stage area; farther away softens shadows.Keep the room as dark as possible for maximum contrast.Experiment with colored gels (cellophane, transparent folder covers) between the light and the puppets to add mood: warm amber for sunset, blue for night.Simple performance techniques
Animating puppets is mostly about rhythm, suggestion and timing. Here are a few tricks I use when rehearsing or playing with friends.
Slow, deliberate movements read better than frantic fiddling. Think about weight and breath — a character shifting its weight or nodding slowly feels alive.Use distance to create scale. Move a puppet closer to the light to make it larger, or pull it back to shrink it dramatically.Layer shadows: place a translucent object (like vellum with a painted texture) between puppet and light to create depth or atmosphere.Introduce sound: a simple soundboard on a phone or small tabletop percussion adds texture without needing a full soundtrack.Troubleshooting common problems
If your shadows aren’t as crisp or lively as you hoped, try these quick fixes.
Blurry edges? Move the light closer to the puppets or use a stronger bulb with a smaller reflector (LED spot-style works well).Faint shadows? Paint the puppets with matte black paint or use thicker card. Ensure the screen is taut and translucent, not opaque.Puppets wobble or flop? Shorten or stiffen the wire handles, or add a second wire support. Reinforce weak joints with a dot of hot glue.Variations and extensions
Once you have a basic theater, it’s fun to experiment.
Mini stages: cut down to make pocket-sized theaters for storytelling on the go.Interactive screens: paint half the screen with glow-in-the-dark paint for a surprising reveal when lights switch off.Layered diorama: make multiple screen planes at different depths for parallax effects — place one screen near the light and another slightly behind with different puppets to create distance.Hybrid shadow + light puppets: combine cut paper silhouettes with translucent painted elements to let color pour through for moments of magic.Storage and care
Everything packs flat nicely. Store puppets in a sandwich box or an old sketchbook case so they don’t bend. Keep wires wrapped gently and the stage collapsed flat; a strip of elastic or a small clip will keep everything together.
This project is one of my favourites because it sits at the crossroads of drawing, sculpture and storytelling. You can make something polished or rough-hewn and charming — both work. If you try it, I’d love to know what scenes you perform. Send me a photo or a short video at [email protected] or tag @maxthemagician on social media. Let’s make ordinary boxes do a little magic.