I love small, quick projects that still feel like miniature acts of magic. This pop-up scene uses a single sheet of paper and can be made in under 20 minutes — perfect for an afternoon break, a handmade note, or a tiny theatrical surprise tucked into a card. You don’t need fancy tools: just a sheet of paper, a pair of scissors or craft knife, a ruler, and a little patience. Below I’ll walk you through my favourite simple structure, explain why it works, and share a few playful variations you can try.
What you’ll need
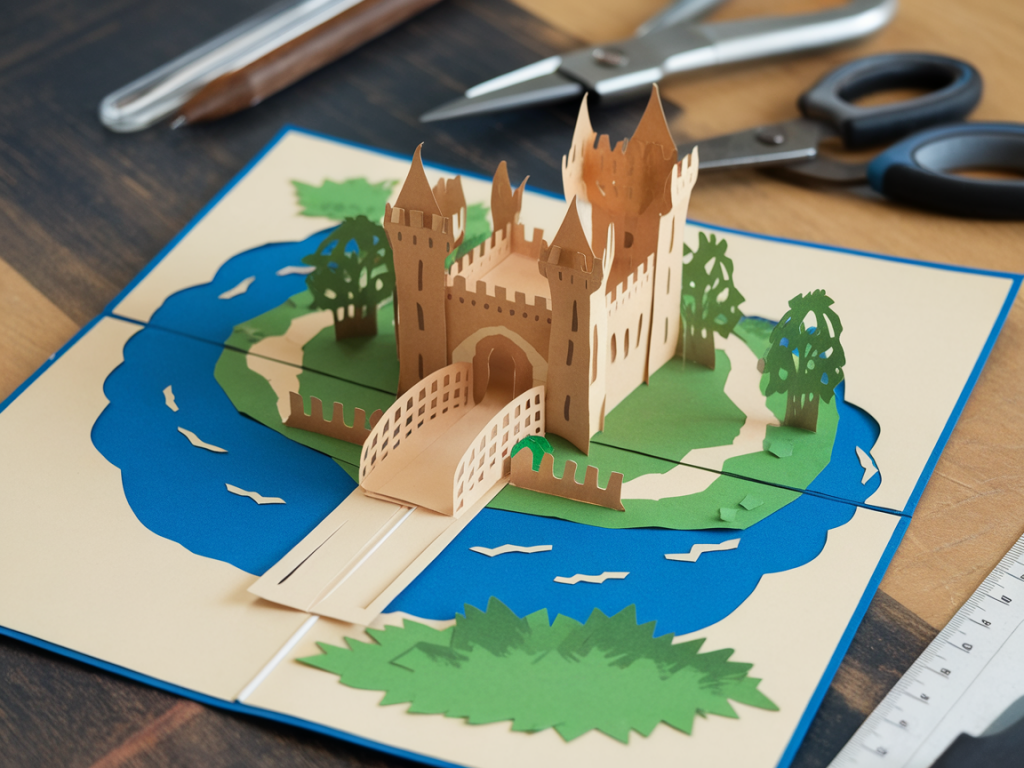
Gather these basic materials — most are household items:
Why a single sheet?
I love the constraint of using one sheet because it forces you to think about positive and negative space. The pop-up portion and the background are created from the same plane, so the illusion of depth is more convincing and the finished piece feels unified. It’s also fast: fewer pieces to cut, fewer things to glue, and everything folds back down flat so it’s easy to post or slip into a journal.
Quick time plan
| Step | Estimated time |
| Prep & mark guidelines | 2–3 minutes |
| Cutting and folding pop-up elements | 6–8 minutes |
| Decorating & attaching details | 6–8 minutes |
| Total | ~15–20 minutes |
Step-by-step: a simple middle-slit pop-up scene
This is the structure I reach for when I want speed and reliability. It makes a central stand that pops up when the page opens — perfect for a character, tree, or building.
Tips for a neater result
Variations to try
Once you’ve made the basic middle-slit pop-up, you can experiment quickly:
Common questions people ask
Can I use a printer to add artwork before folding?
Yes — printing your background or silhouette before cutting is a great shortcut. Make sure you mark the fold line on the printed design and align your slit markings precisely. I often print patterned skies or textures and then add a hand-drawn character for a mixed-media feel.
Will the pop-up survive in the mail?
Yes, if you use sturdy paper and avoid bulky elements. Flatten the card gently, place it inside a slightly padded envelope or add a small cardboard backer for extra protection. For thicker or layered pieces, consider an A5 or larger envelope to avoid crushing.
How do I make more complex scenes?
Build complexity in layers rather than in the mechanism. Create multiple small tabs with staggered depths, or glue translucent vellum overlays for atmospheric effects. Paper struts and tabs are simple to add and multiply the storytelling possibilities quickly.
Materials I like
My go-to supplies are humble: Canson mixed media paper for colour washes, Clairefontaine cardstock for crisp folds, and a well-sharpened X-Acto for clean cuts. For adhesives, I prefer double-sided tape for speed and PVA glue for any heavier collage pieces.
Playful prompts to get you started
Making a pop-up from a single sheet is one of my favourite small rituals — it gives you an instant reward and a gentle reminder of how much wonder you can coax out of simple materials. If you make one, I’d love to see what you do with it — share a photo, tell me what surprised you, or ask about a variation you want to try.